Jagdpanzer IV/70/A conversion kit review / build

Post Reply
User avatar
phyrephish
King Tiger Commander
Posts: 135
Joined: Sun Mar 26, 2017 10:24 am

Jagdpanzer IV/70/A conversion kit review / build

Post by phyrephish » Tue Mar 28, 2017 8:38 am

Jagdpanzer IV/70/A Profiline Conversion Kit Review / Build

Since I’m currently doing a review/build of a Brummbär resin kit from Store-Juckenburg it is probably only fair to do the same for the other prominent resin kit maker, Profiline. Profiline’s kits are marketed as limited production, high detail resin kits. Once a particular mould has come to the end of its life that particular model will no longer be produced. Profiline have a number of kits available and they are all offered at the same price of around 125 Euro (at least where I buy them). In comparison Profiline kits are generally more expensive than those by Store-Juckenburg. So the big question is ... “Are they worth the extra $$$?” Well let’s have a look see.

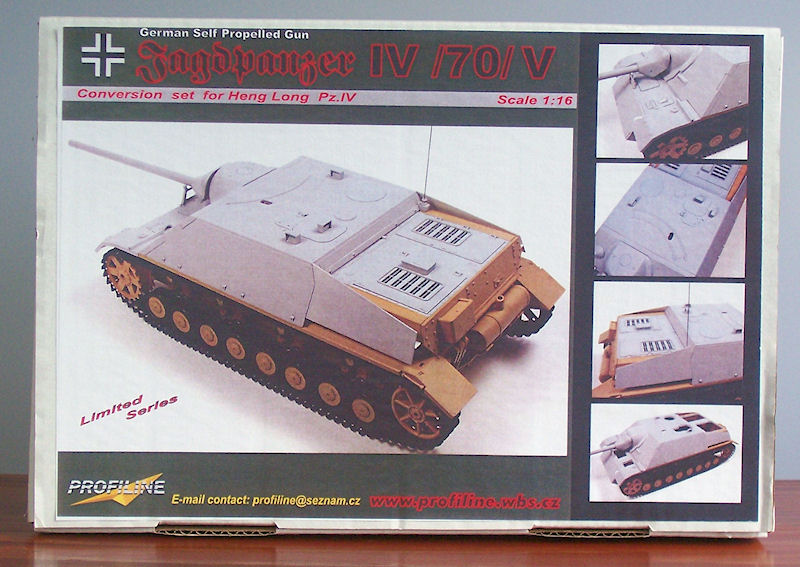
Profiline Jagdpanzer IV/70/A conversion kit

Image

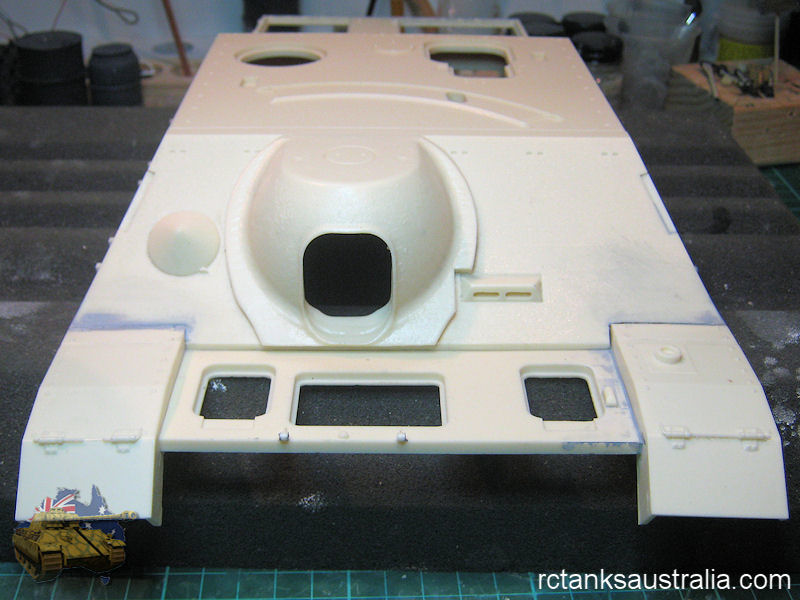
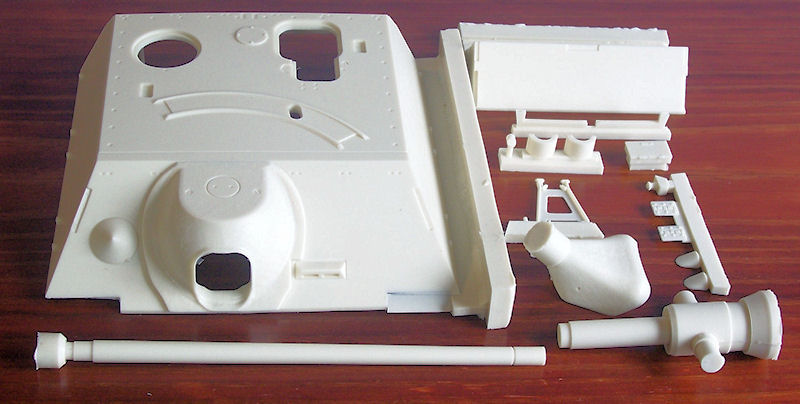
Well the box is nice and everything inside is well packed in bubble wrap & paper. The first thing I wanted to do when the box arrived was to A) check out the quality of the molding and B) take a look at the instructions on the included CD. Upon opening the box my first surprise was that the parts are of typical resin colouration and not some magical new grey resin colour as depicted in every promotional shot of Profiline kits (even the box cover). Ok the colour isn’t at all important it is the detail that counts and I’m happy to report that for a resin kit the detail is exceptional. No doubt the parts were coloured grey for the promotional shots just to demonstate the fine details. There are just under 40 moulded pieces with the largest being the one piece citadel.

Image

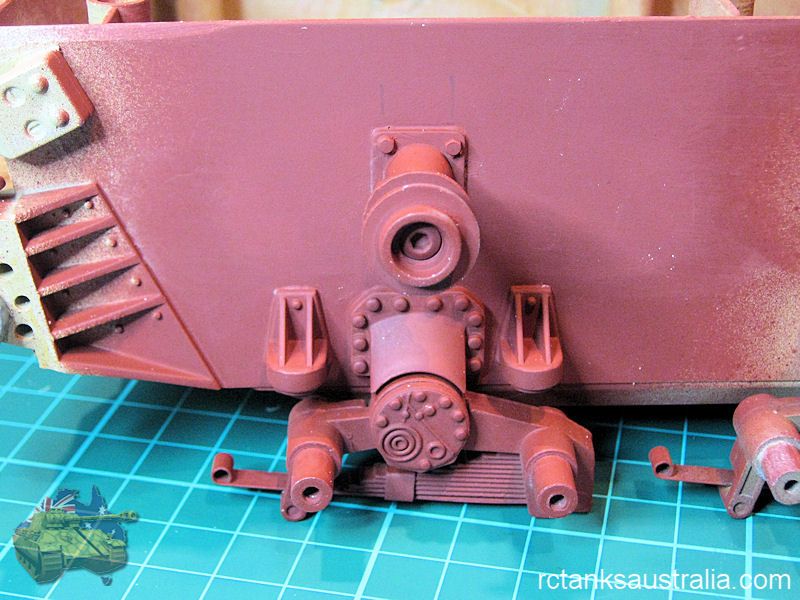
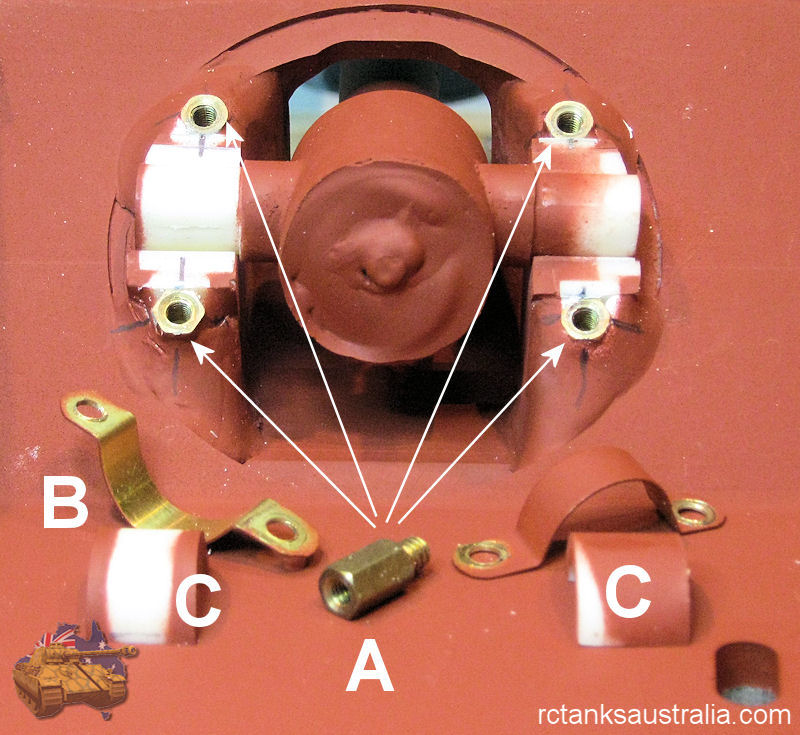
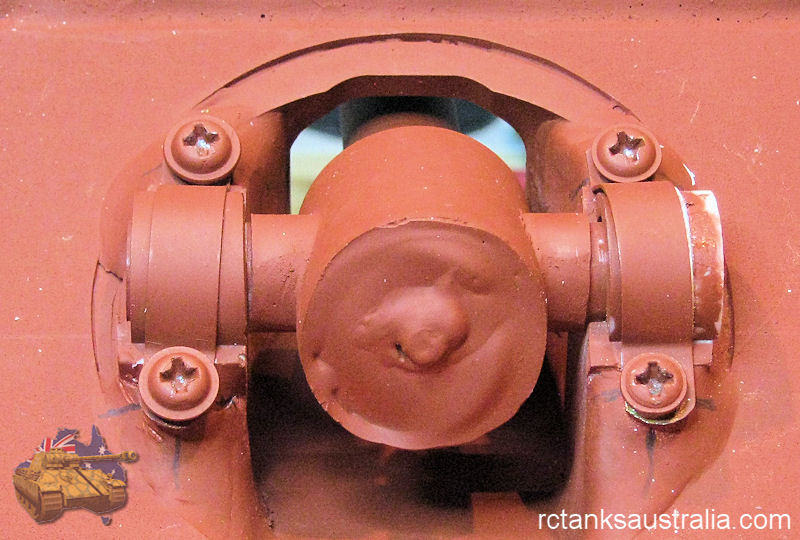
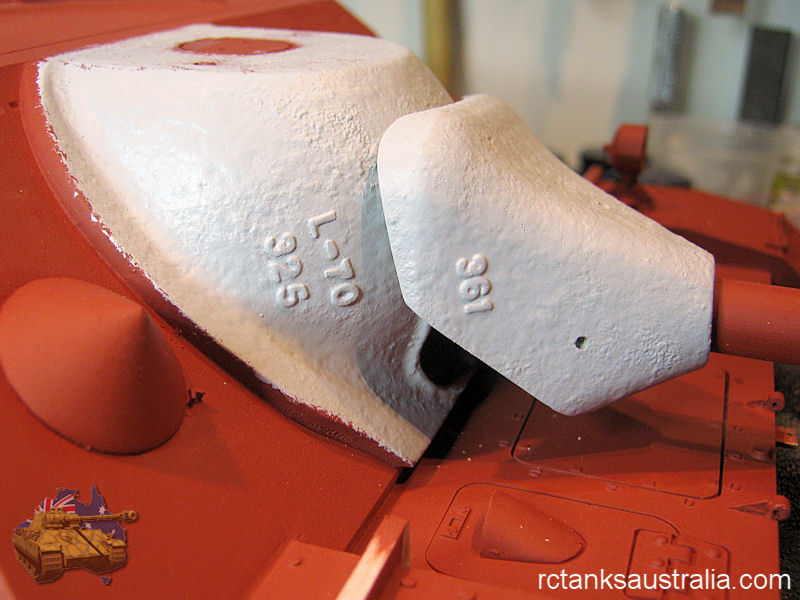
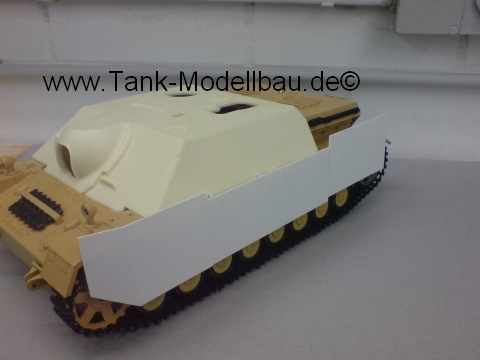
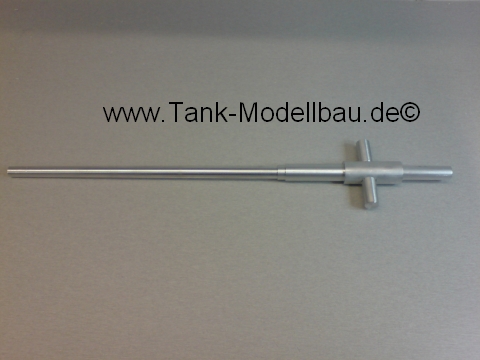
The gun assembly is capable of pivoting up and down and connection to an elevation motor should not be too difficult. The barrel however is solid and due to its length would be impossible to drill out for the placement of a muzzle flash. The solution would be to make your own barrel or buy an aluminum barrel from http://www.tank-modellbau . This aluminum barrel also supposedly allows the connection of an Asiatam recoil system. However, at 40 Euros it makes for an expensive bit of aluminum tube. It’s unsual to find aftermarket parts for aftermarket parts but also available from Tank Modellbau for this particular kit are the schürzen.

ImageImage

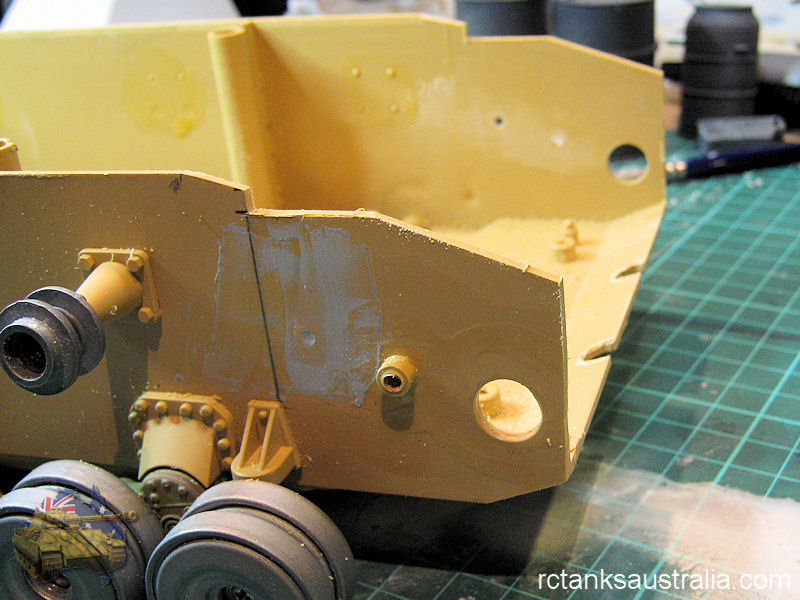
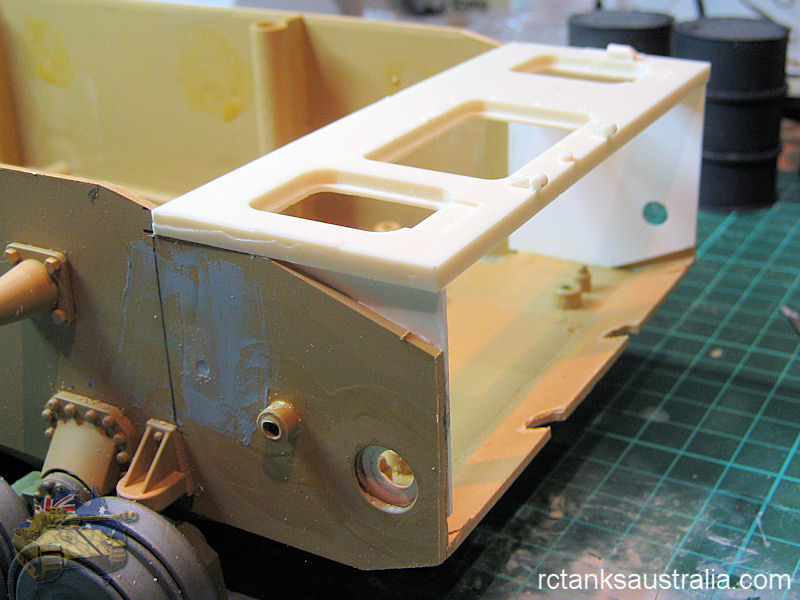
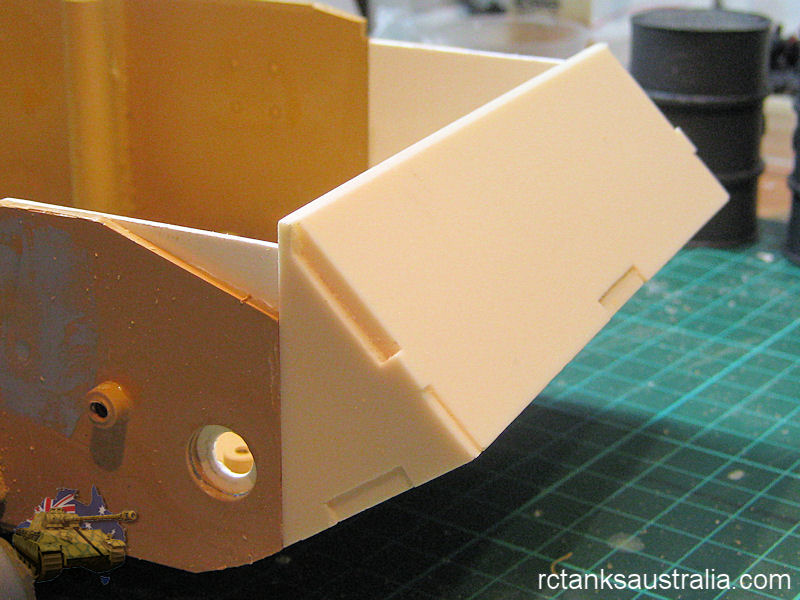
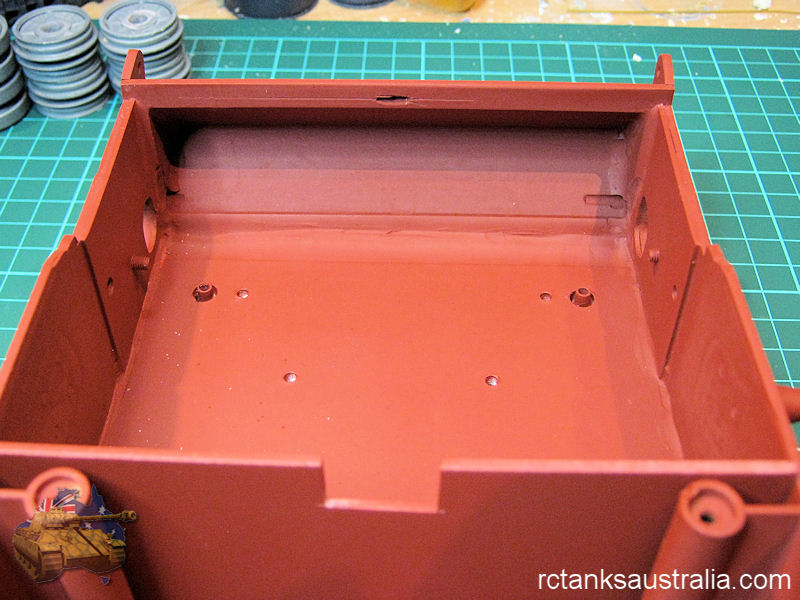
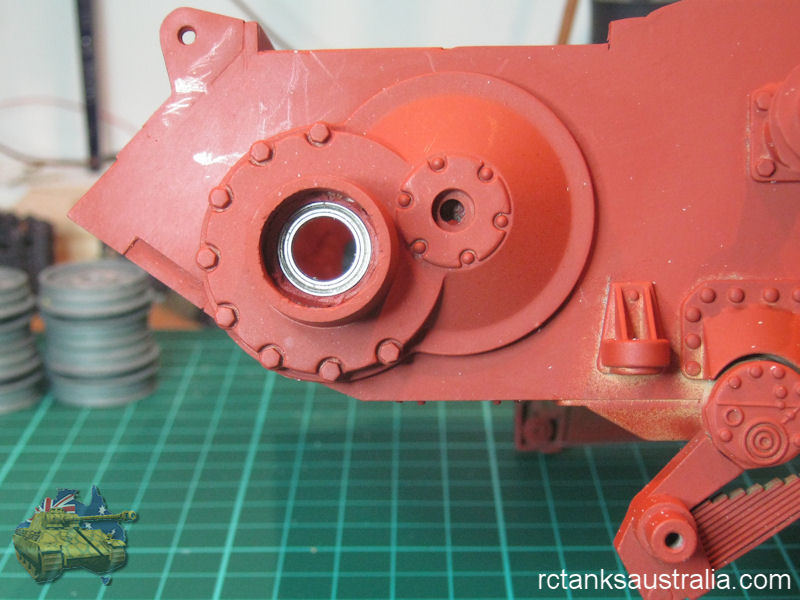
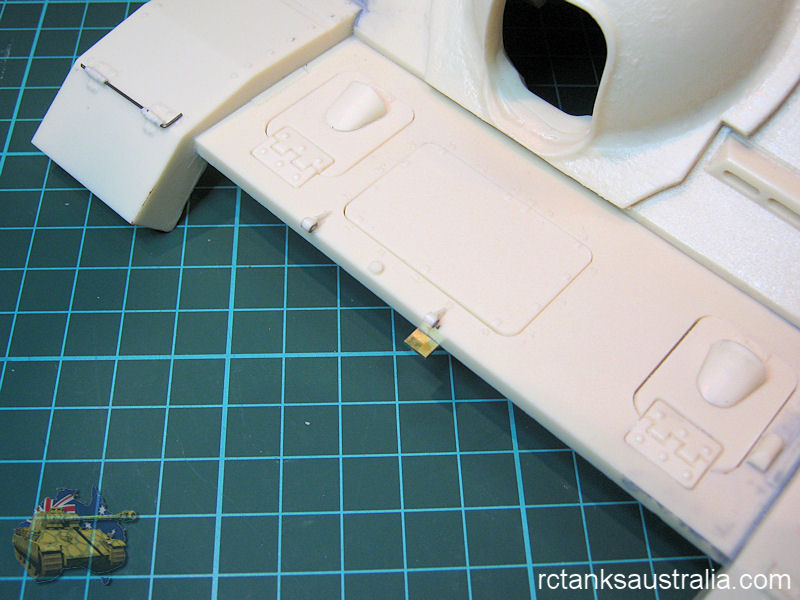
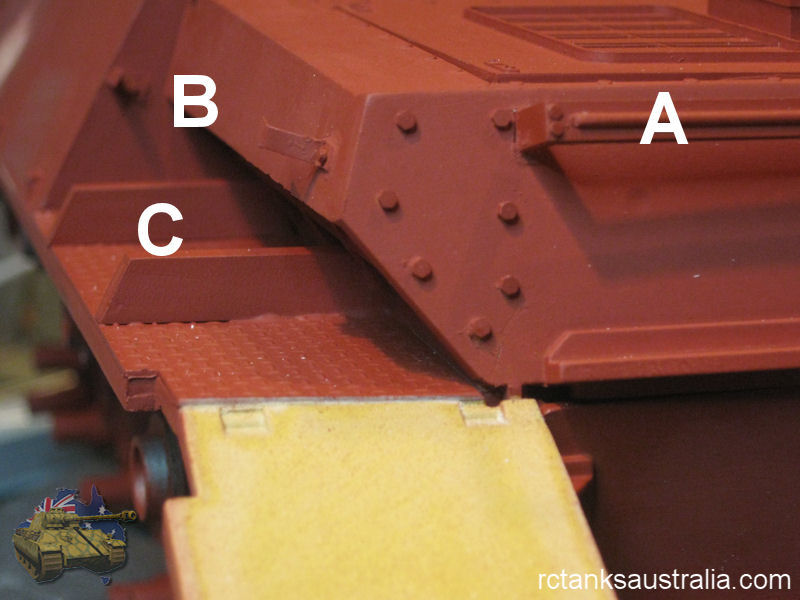
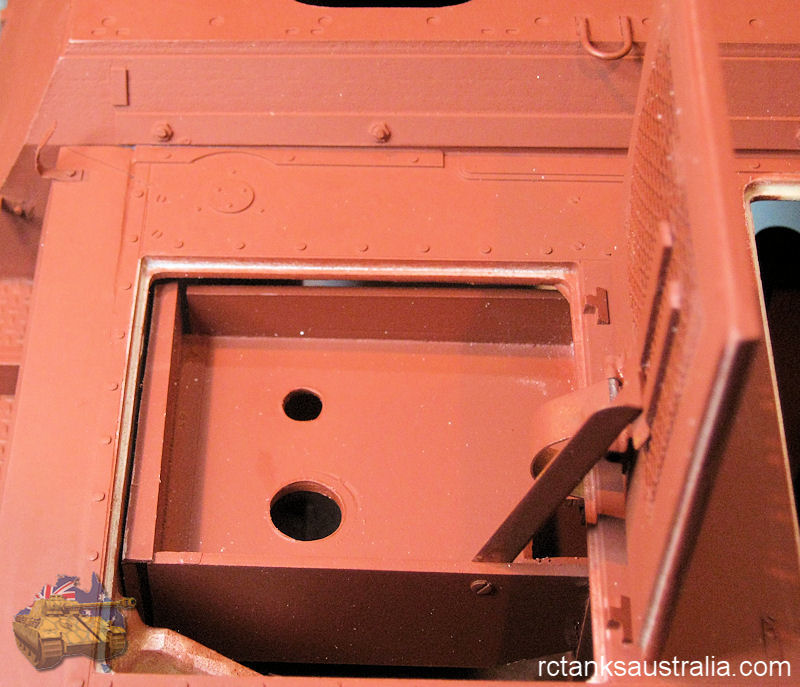
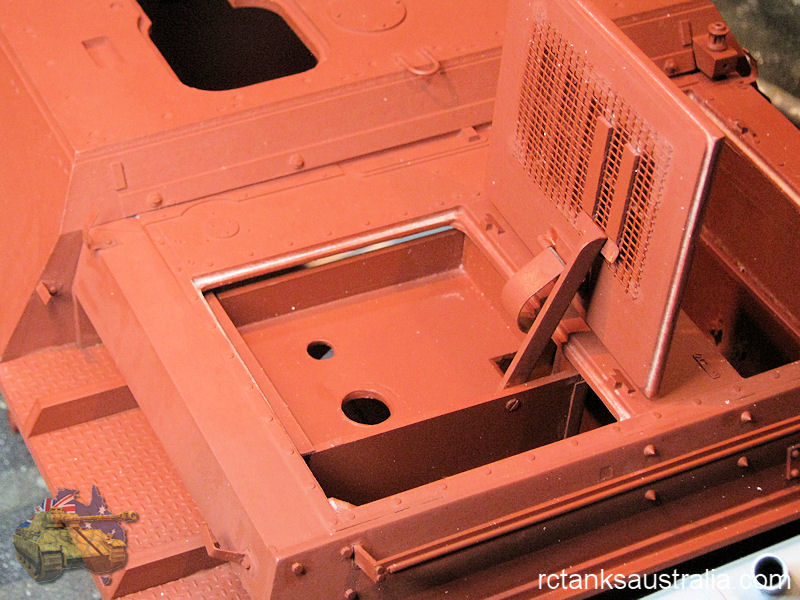
Corrected front transmission and rear motor decks with hatches are included in the kit. Promotional shots of the kit show the hatches as either in place or removed, never in an opened position. The reason for this is now obvious. Because of the fine molding it would be impractical to convert these hatches into operating ones using the existing hinge moldings. If the hatches need to be opened new methods of hinging the hatches will need to be found. Also included are more detailed front fender assemblies.

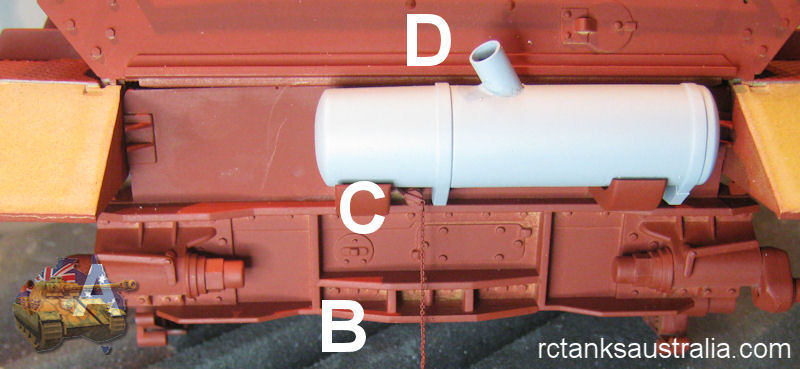
As you can see in the pictures there is a significant amount of extra resin from the molding process. How easy it will be to separate off the individual pieces is yet to be seen.

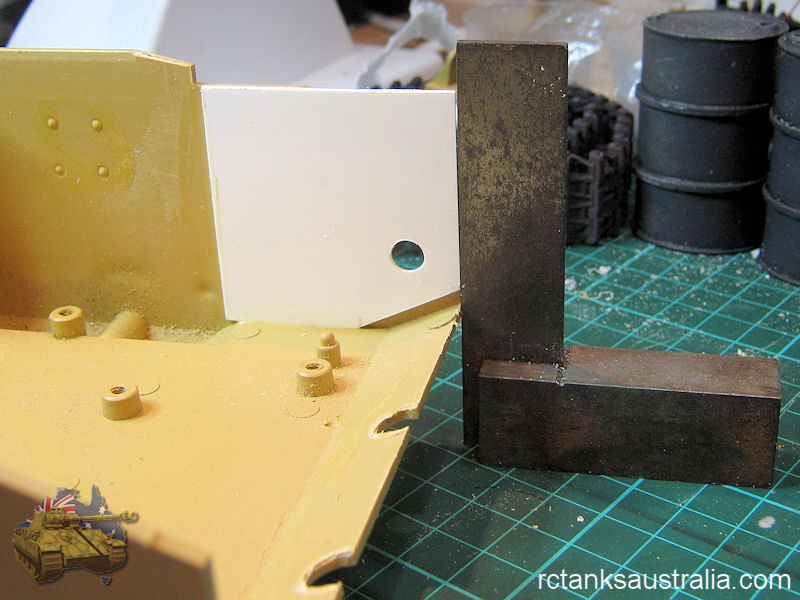
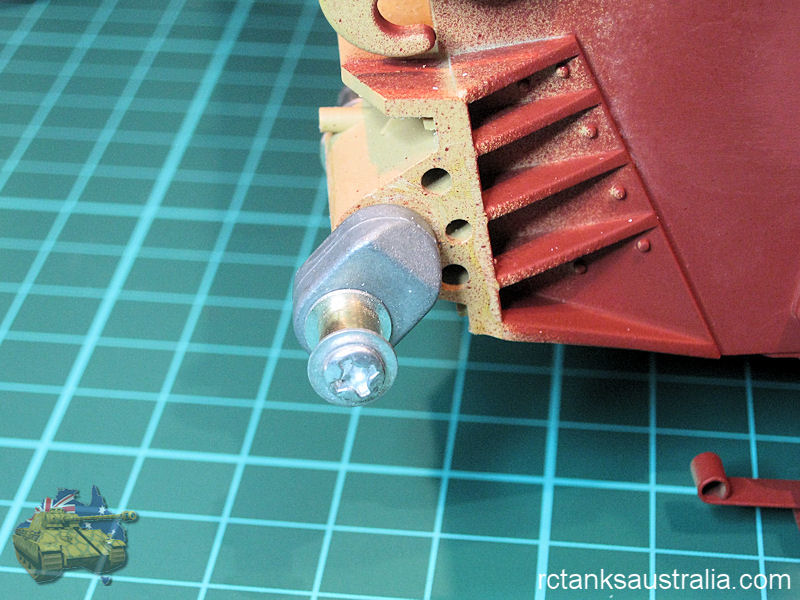
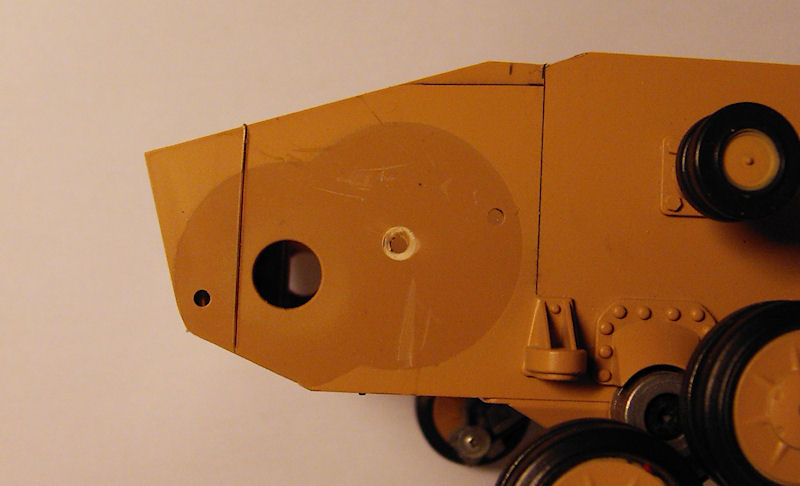
Now for gripe number 1. In all of the promo shots for this kit including the ones on the cover protective plates for the rear air intakes are shown. Not only are they shown but they are in the same colour as all of the other resin pieces. Such depictions would lead anyone to assume that these plates are part of the kit. However, they are NOT included. Which brings me to …

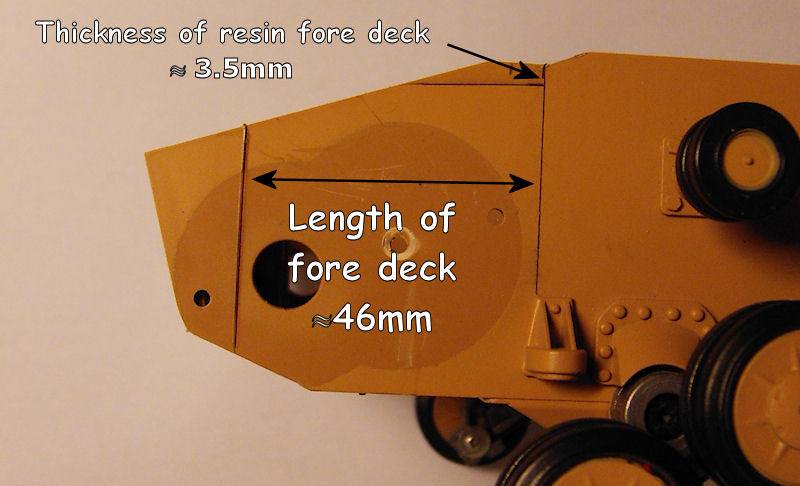
Gripe number 2. Profiline kits are marketed as having an ‘Illustrated Instruction Manual’ on CDR. As I said earlier I was looking forward to having a nice set of instructions to follow on CD. I was most disappointed to find that the instructions consisted of 4 pdfs & 51 jpegs of which most were promotional shots of the completed model. The pdfs are no better being only single page CAD representations demonstrating very little. Ok, I probably have the experience for this not to be a huge problem but still it would make things a lot easier to have a little guidance. For example, the front of the HL Pz. IV will need to be cut to fit the sloped armour. A picture is all there is to go by...

Image

How hard would it of been to add in on the picture a few dimensions? Not very and by doing so would make things so much easier.

Admittedly, a nice pdf is provided with a template for the air intake shields.

Image

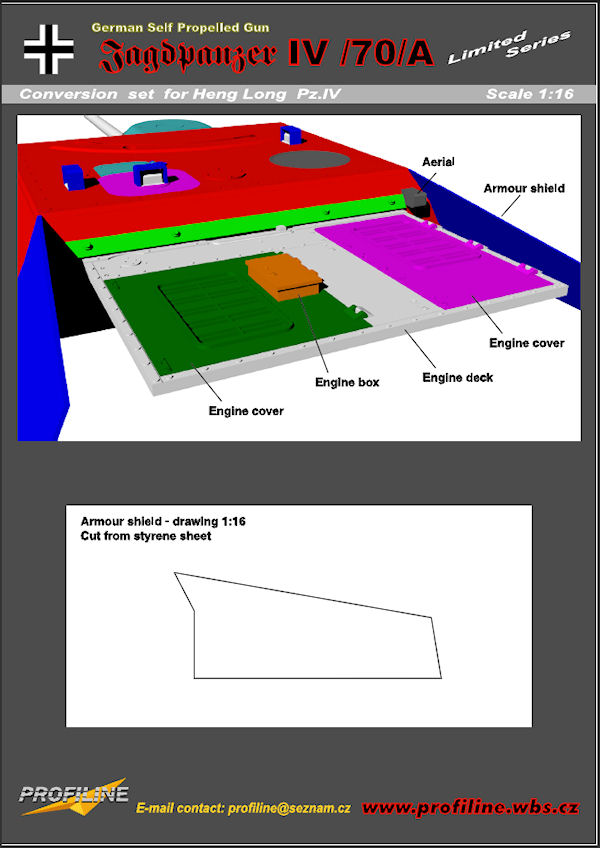
Hopefully being a pdf and if everything is set to 100% it should print out at the correct scale. Would be nice to know what thickness styrene sheet though.

Ok it seems like I’m bitching a bit too much about nothing and that’s probably right. I was just looking forward to a nice set of professional instructions. Everything else about this kit appears to be of the highest quality and I can’t wait to start hacking up another Heng Long Panzer IV.

Are they worth the extra $$$? I’d have to say yes for the quality of the molding and providing a pivoting gun. I’d give a more definite yes if the barrel was hollow, air intakes shields were provided (even if a sheet of styrene was thrown in to cut them from) and most importantly a good set of instructions were included.

I can’t wait to start this build.....
ImageImageImageImage

User avatar
phyrephish
King Tiger Commander
Posts: 135
Joined: Sun Mar 26, 2017 10:24 am

Re: Jagdpanzer IV/70/A conversion kit review / build

Post by phyrephish » Tue Mar 28, 2017 8:40 am

Starting the build:
First step for me in the build was the front of the lower hull. The unmentioned dimensions from the very start of the thread are as follows:

Image

With cuts made

Image

For added strength a piece of styrene was added as shown

Image

How the fore deck is placed

Image

Image
ImageImageImageImage

User avatar
phyrephish
King Tiger Commander
Posts: 135
Joined: Sun Mar 26, 2017 10:24 am

Re: Jagdpanzer IV/70/A conversion kit review / build

Post by phyrephish » Tue Mar 28, 2017 8:41 am

With frontal armour attached

Image

Onto the top deck
The Heng Long deck needs to be cut as below BUT before removing the rear engine deck I placed a sheet of styrene across the middle for bracing.

Image

With the bracing in place the rear deck was cut out. Initially I wasn't going to slope the deck as I thought it would take up a bit too much time but since a cut had to be made here in the end the extra time required was minimal.

Image

Before the front deck was cut off I attached the citadel. Once this was attached the old Heng Long front deck was cut off. I then placed the new front deck into its postion on the lower hull and secured it in place with rubber bands. The topdeck was then placed onto the lower hull and aligned before the citadel was CA glued to the front deck.

Image

With the front deck in place the two front fenders were then attached.

Image
ImageImageImageImage

User avatar
phyrephish
King Tiger Commander
Posts: 135
Joined: Sun Mar 26, 2017 10:24 am

Re: Jagdpanzer IV/70/A conversion kit review / build

Post by phyrephish » Tue Mar 28, 2017 8:43 am

Lower Hull Mods
Apart from the completely new front end there are no other parts in the kit that attach to the lower hull. However the usual 'fixing up' of the drive train is recommended. There are three main issues that need to be fixed.
1. The rear idler
2. The rear return roller
3. Raising of the drive sprockets.
These are typical for the Heng Long PzIV chassis and I've have covered this in more detail with my Brummbar build:
http://rctanksaustralia.com/forum/viewt ... p?f=19&t=6

1. Rear Idler: Easy
Simply install the Asiatam rear idler mounts.

Image

2. Rear Return Roller: Medium
Cut off the rear roller mont and relocate a few mms south. For added strength it is actually bolted on using 1.2 mm nuts & bolts from scalehardware.com

Image

3. Raise the drive sprockets: Hard
Well not really hard just more fiddly than the other two mods. Raising the drive sprockets means raising the motors themselves. You can usually get away with raising the motors up by 3mm. To do this a sheet of 3mm styrene is placed in the bottom of the motor bay.

Image

Image

New holes will need to be drilled 3mm up from their old location so that the transmission casings can be reattached.

Image
ImageImageImageImage

User avatar
phyrephish
King Tiger Commander
Posts: 135
Joined: Sun Mar 26, 2017 10:24 am

Re: Jagdpanzer IV/70/A conversion kit review / build

Post by phyrephish » Tue Mar 28, 2017 8:44 am

Another issue with the Profiline Kits is that it is up to you how to reattach the upper and lower hulls. I tend to go with the Asiatam technique of a lip type catch in the front and a more solid attachment rear.

Image

Not sure this single brass lip will be enough so I may add two more either side.

At the back as you can see I have solidly glued in some styrene attachment points for the back two screws.

Image

Because of the sloping rear motor deck the back armour plate need re-sizing which in turn meant that the rear attachment bolts needed to be re-positioned.

Image

Image

Enough of the superstructure has been assembled to allow a first undercoat. The Jag has been undercoated in Red Oxide to make it easier to spot blemishes in the resin, any holes that need to be filled and to allow some contrast for a few milliput weld beads that need to be done.

Image

As can be seen the main gun is in place. However, it is NOT the main gun suppiled in the kit. If one goes back in this thread to the first pictures of the kit pieces the main gun that is supplied comes in two parts. When it came time to put the gun together I noticed that the main barrel part was warped and pretty much unusuable. This has pretty much has forced me into getting a Tank-Modellbau replacement and at 44 Euro it will hurt the hip pocket. In the mean time I have installed the gun from my L70 (A) kit. Profiline have reworked the gun for this kit as obviously I'm not the only one with a stuffed barrel. In the L70 (A) kit the gun is one piece and has a solid brass rod running through the middle (nice & straight). BUT why oh why a solid rod? Why Profiline why? If a brass TUBE was there instead one could pass wires through for any type of LED in the barrel.

The mount for the headlight on the original kit was horrid as it was only meant to accept the supplied HL light. It was cut off and a nice Schumo headlight installed instead.

Image
ImageImageImageImage

User avatar
phyrephish
King Tiger Commander
Posts: 135
Joined: Sun Mar 26, 2017 10:24 am

Re: Jagdpanzer IV/70/A conversion kit review / build

Post by phyrephish » Tue Mar 28, 2017 8:45 am

Main Gun Elevation Pivot
Here are the mods that I have done to the elevation pivot point for the main gun. The two resin pieces 'C' are meant to be glued onto the superstructure thus permanently fixing the main gun. This is not ideal in my case as I will eventually replace the main gun with a metal one and hence the gun needs to be removable.

Image

To do this I CA glued, then epoxied, then milliputted in 4 of those 3mm risers that you get for installing motherboards (A) at the positions shown. I then fashioned 2 brass clamps 'B' that can be screwed into the 3mm risers to secure the whole assembly.

Image

If you look closely at the pic above you can see the central brass rod that runs down the cenre of the L70(A) main gun. How lovely this would be if it were a tube instead. :P
ImageImageImageImage

User avatar
phyrephish
King Tiger Commander
Posts: 135
Joined: Sun Mar 26, 2017 10:24 am

Re: Jagdpanzer IV/70/A conversion kit review / build

Post by phyrephish » Tue Mar 28, 2017 8:46 am

Rear End Mods

Here are some pretty standard rear end PZ IV mods.

A The Idler wheel adjustment lever is moved to the top of the cylinder.
B Extra bottom plate added to the towing attachment
C Cap & chain added
D Exhaust tube replaced with 6mm brass tube and repositioned at a more correct angle.

Image

What's left to go are the jack block and some bolt detail so it looks like this

Image

Air Intake
Here are some of the detailing around the air intakes.

A Spare track bracket
B Support brackets for air intake armour plate
C Schurzen supports

Image
ImageImageImageImage

User avatar
phyrephish
King Tiger Commander
Posts: 135
Joined: Sun Mar 26, 2017 10:24 am

Re: Jagdpanzer IV/70/A conversion kit review / build

Post by phyrephish » Tue Mar 28, 2017 8:48 am

On/Off Switch, Charging Plug & Volume Control
The best thing about the Pz IV chassis are those big hatches at the back. Perfect for access to on/off switches and the like. The resin Profiline hatches are finely detailed, much more so than the Heng Long or Asiatam versions. The drawback is that although it would be possible to make them functional I doubt that they would be strong enough for regular use. I have instead made some swinging hinges from brass to allow these hatches to open. I have not bothered at all with the detail underneath other than adding some mesh. If they were opening up to revel a Maybach engine then maybe but instead the hatches open up for the units On/Off switch, charging plug, volume control & Smoke Unit switch.

Image

Image

Casting Numbers

The mantlet & gun shield on the Jagdpanzers had clearly visible casting numbers.

Image

To make the numbers I used some Plastistruct 1/8" Alphabet. Simply cut & glue in place. Over the top goes some Mr Surfacer 500 stippled with a deer foot brush. I have done 2 coats here. I guess it is a matter of taste how visible you want the numbers .... add more coats of Mr Surfacer to make the numbers less visible. I want these numbers to be visible (probably more so than need be) so I'll probably stop here.

Rear Mud Flap Springs
I made some of these springs up for my Brummbar from old electric guitar strings. The guitar strings are NOT springy so they did not work for movable flaps. I am not going to hinge the flaps on the Jagdpanzer so since the springs were already made I've stuck them on here.

Image
ImageImageImageImage

User avatar
phyrephish
King Tiger Commander
Posts: 135
Joined: Sun Mar 26, 2017 10:24 am

Re: Jagdpanzer IV/70/A conversion kit review / build

Post by phyrephish » Tue Mar 28, 2017 8:49 am

It is with much embarrassment that I have to report that I still have not finished this build.

I really must get back to it.

On a side note - I have been informed that Profiline are no longer in business. They have sold their molds to Asiatam. It is expected that these great kits will still be available in the future from Asiatam.

Cheers
KG
ImageImageImageImage

Post Reply