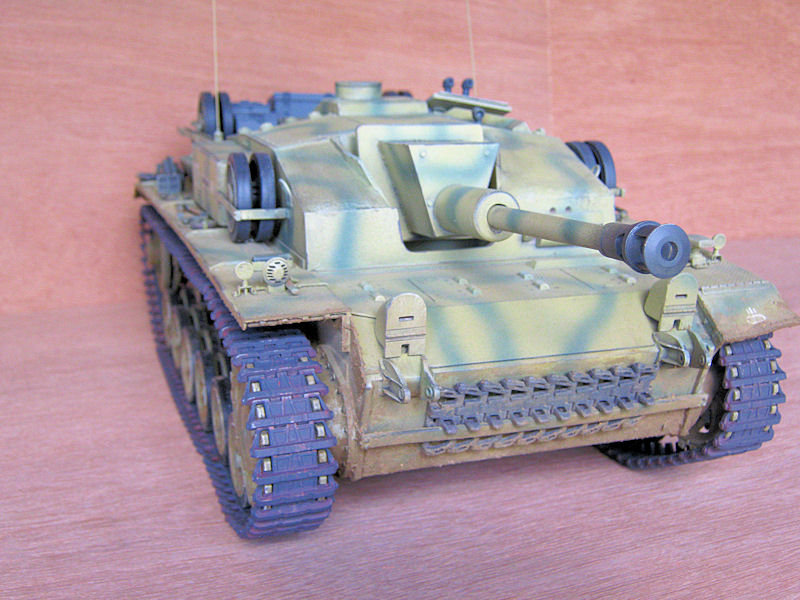
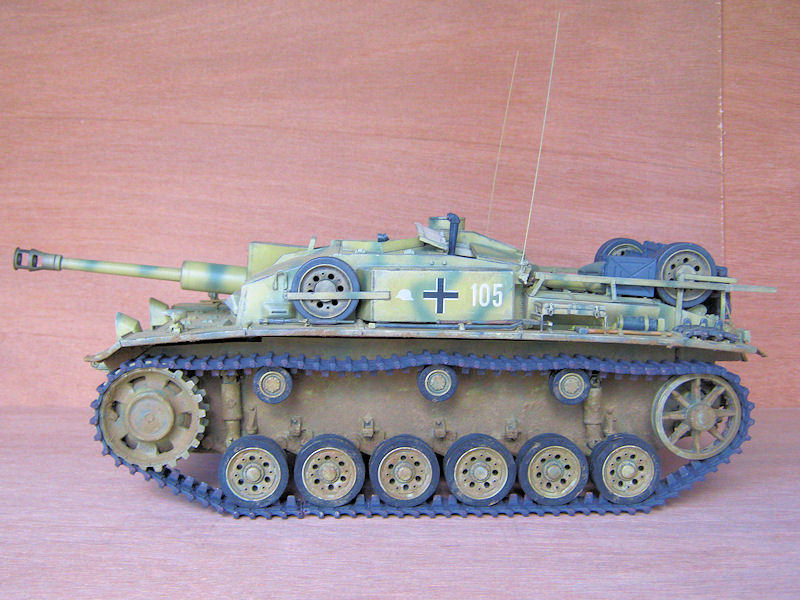
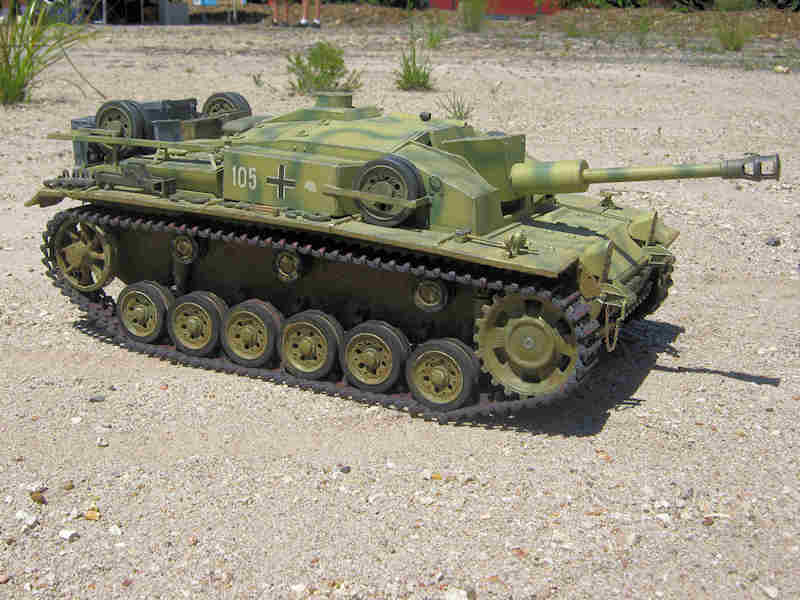
Profiline Stug III Ausf F Build & Review
- phyrephish
- King Tiger Commander
- Posts: 135
- Joined: Sun Mar 26, 2017 10:24 am
Profiline Stug III Ausf F Build & Review
Maybe it's just me but whenever I order a conversion kit I think 'Fantastic, all the hard work has been done will just have to glue part A2 to B3 and jobs right'. In no time all I'll have a well detailed, prototypically correct model. When will I learn? It's not like Profiline's Stug III F is anything but an excellent kit it is that same excellence that deserves going the extra yard on the build. Consequently, my planned one month build has now gone for two. Since this kit is still available from Profiline (http://www.profiline-models.com/eShop-- ... ml?list=15) I guess I can still call this a review of the kit even though it has been available for more than 12 months. So here are my impressions and an over view of the build.
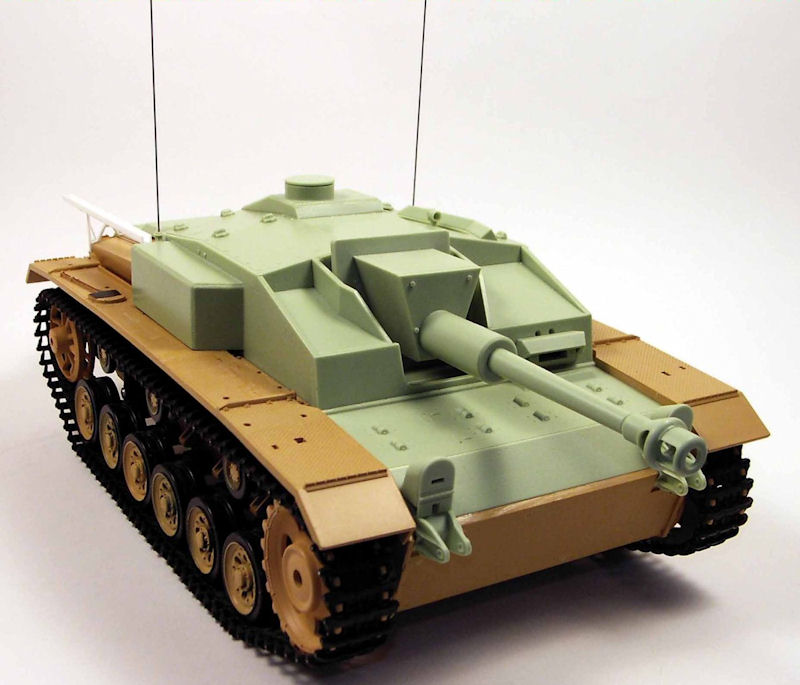
Major Parts List:
Profiline Stug III Ausf F Conversion Kit
Asiatam Pz III metal hull complete with road wheels
Asiamtam Recoil Unit
Asiatam gearboxes
Tank-Modellbau 7.5 cm KwK 40L48 gun
Aber Clasps & Clamps
Heng Long Tauch Panzer upper hull
Heng Long electrics with Phyrephish mods.
Planned Future Upgrades: (when finances permit)
Asp 2 electrics
Impact Tracks
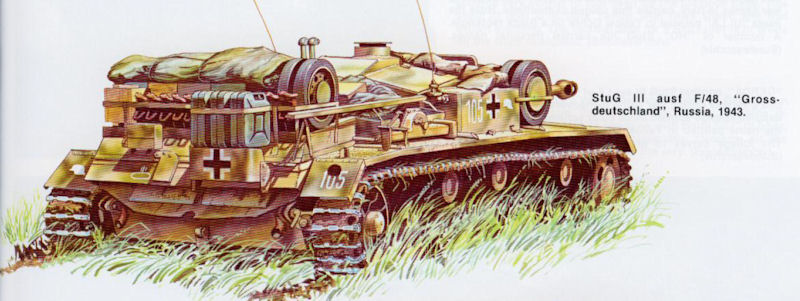
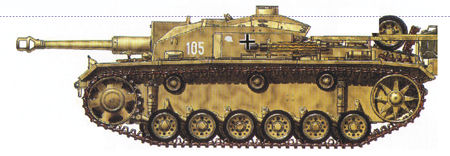
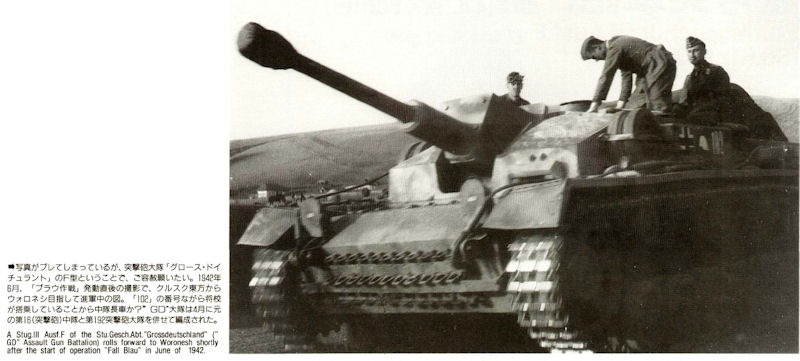
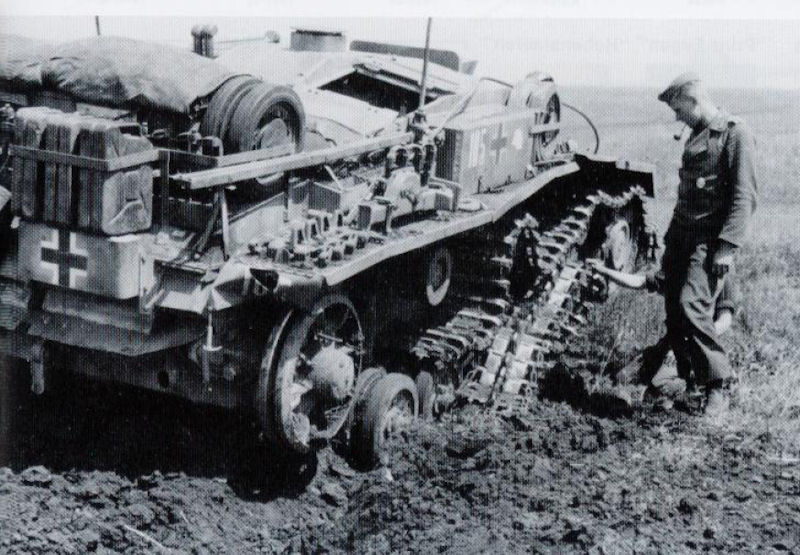
With any new build it is probably a good idea to know what you want to build form the start. I wanted a Stug F with all the nice parts of the Profiline kit such as the headlight covers and didn't want the extra work of adding more frontal armour so immediately this build had to be an early model F produced Mar-Jun '42. Would such a vehicle make it 6 months to the winter? Possible, but just to be safe such a production date means a summer camo pattern. Next was to scour through the reference material for examples. One example that kept popping up were the Stug F's of Grossdeutschland. This division made a few specific modifications to their Stug's which I thought could be easily done and I had a few spare Grossdeutschland decals so why not?
Next up ---- The build.
Maybe it's just me but whenever I order a conversion kit I think 'Fantastic, all the hard work has been done will just have to glue part A2 to B3 and jobs right'. In no time all I'll have a well detailed, prototypically correct model. When will I learn? It's not like Profiline's Stug III F is anything but an excellent kit it is that same excellence that deserves going the extra yard on the build. Consequently, my planned one month build has now gone for two. Since this kit is still available from Profiline (http://www.profiline-models.com/eShop-- ... ml?list=15) I guess I can still call this a review of the kit even though it has been available for more than 12 months. So here are my impressions and an over view of the build.
Major Parts List:
Profiline Stug III Ausf F Conversion Kit
Asiatam Pz III metal hull complete with road wheels
Asiamtam Recoil Unit
Asiatam gearboxes
Tank-Modellbau 7.5 cm KwK 40L48 gun
Aber Clasps & Clamps
Heng Long Tauch Panzer upper hull
Heng Long electrics with Phyrephish mods.
Planned Future Upgrades: (when finances permit)
Asp 2 electrics
Impact Tracks
With any new build it is probably a good idea to know what you want to build form the start. I wanted a Stug F with all the nice parts of the Profiline kit such as the headlight covers and didn't want the extra work of adding more frontal armour so immediately this build had to be an early model F produced Mar-Jun '42. Would such a vehicle make it 6 months to the winter? Possible, but just to be safe such a production date means a summer camo pattern. Next was to scour through the reference material for examples. One example that kept popping up were the Stug F's of Grossdeutschland. This division made a few specific modifications to their Stug's which I thought could be easily done and I had a few spare Grossdeutschland decals so why not?
Next up ---- The build.
- phyrephish
- King Tiger Commander
- Posts: 135
- Joined: Sun Mar 26, 2017 10:24 am
Re: Profiline Stug III Ausf F Build & Review
The Build
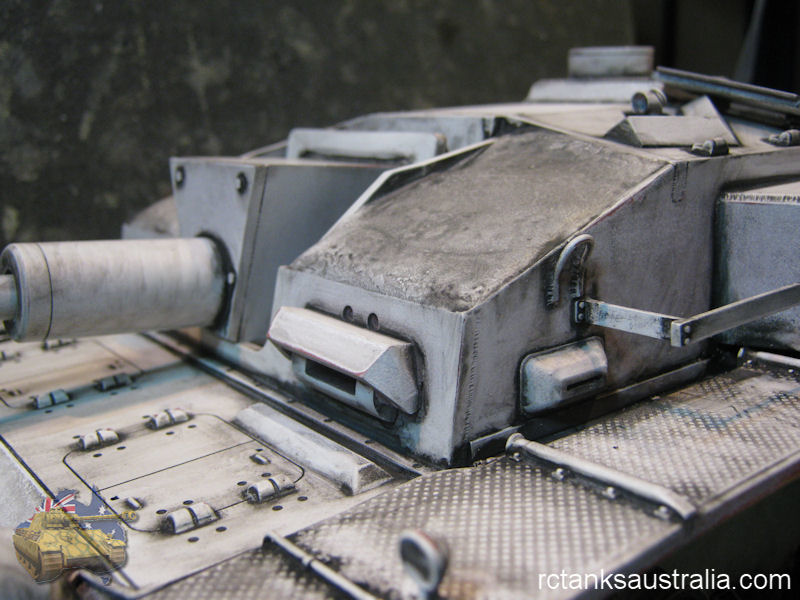
Firstly, I really like Profiline kits, the detail and quality of the resin castings are excellent. The best example on the Stug F are the antenna assemblies. These are nicely detailed and I can't help but wish that they were made from metal rather than resin as if they were metal they could easliy be made functional. The citadel attaches and fits nicely to the Heng Long superstructure and in general there isn't too much 'flash' on all the parts to remove. I've gotten used to the so called 'CD manual' which is simply a series of shots of the completed conversion. To me the biggest issue with the kit was the mantlet & gun barrel. There is no means provided for the gun assembly to pivot nor are either the mantlet or barrel hollowed out. Thus to make the main gun elevate up and down or to have a muzzle flash installed major modifications had to be made.
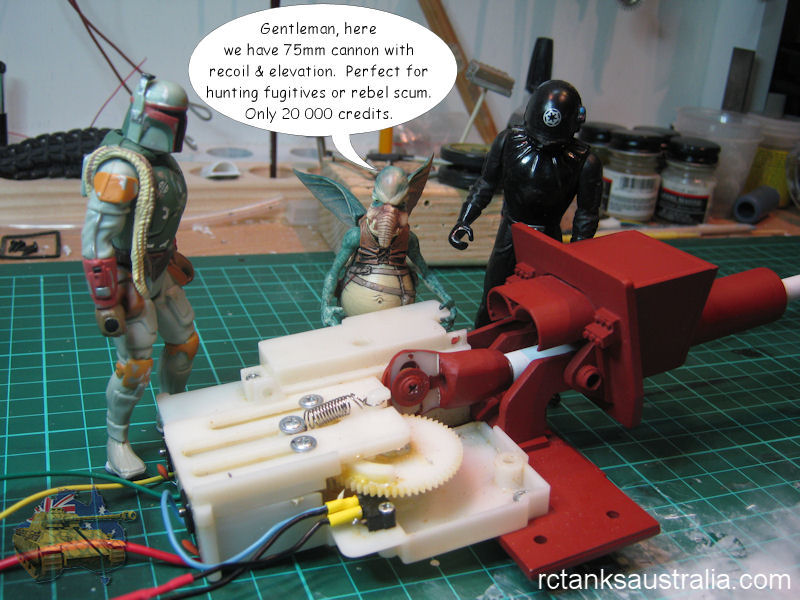
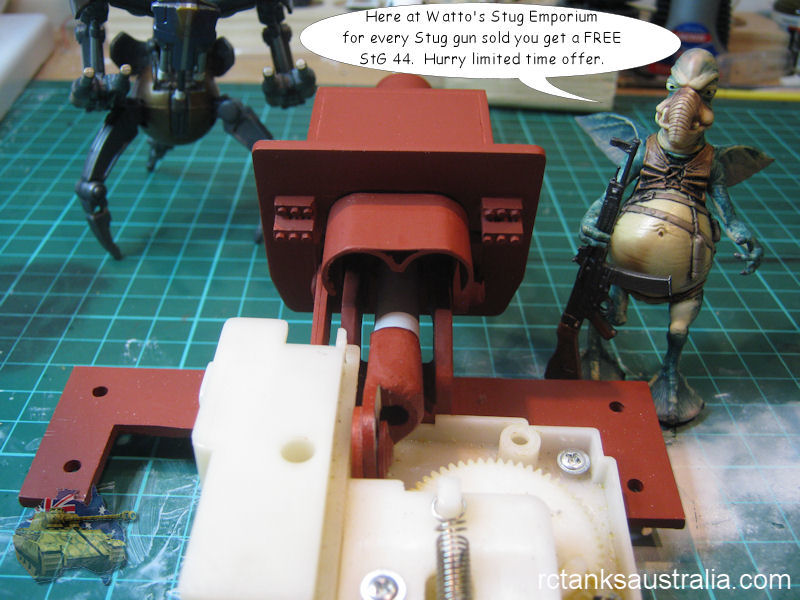
Since I wanted the model to have muzzle flash and recoil there was no choice but to discard the supplied barrel and replace it with one from Tank-Modellbau. Because of the limited space available I chose to use an Asiatam recoil unit to provide elevation & recoil of the main gun. The whole assembly came together as pictured below.
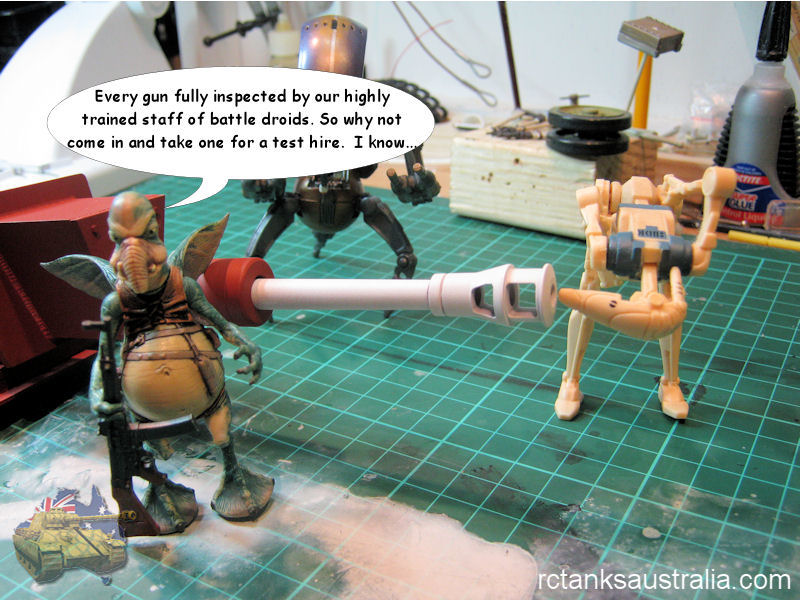
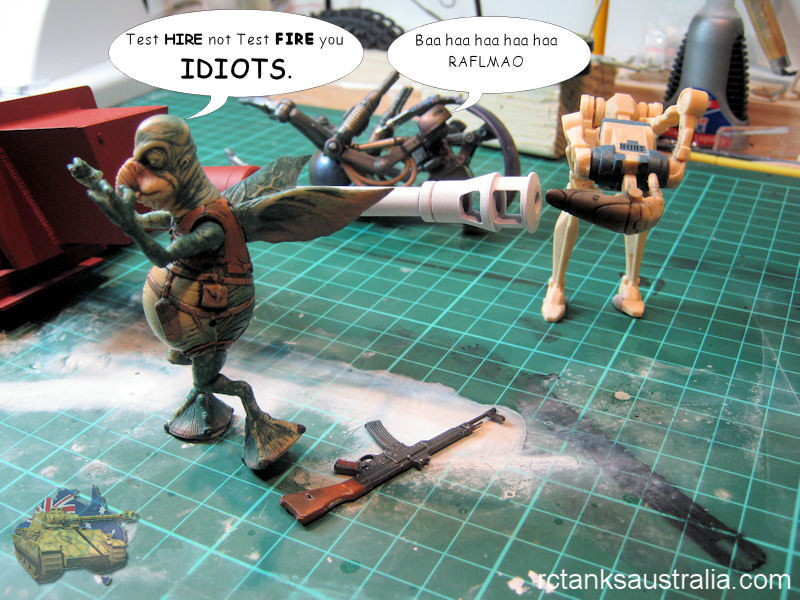
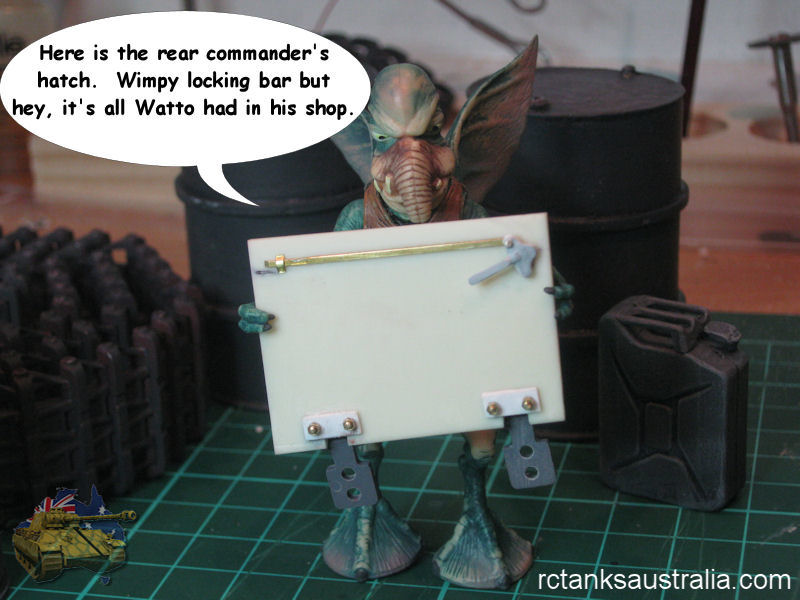
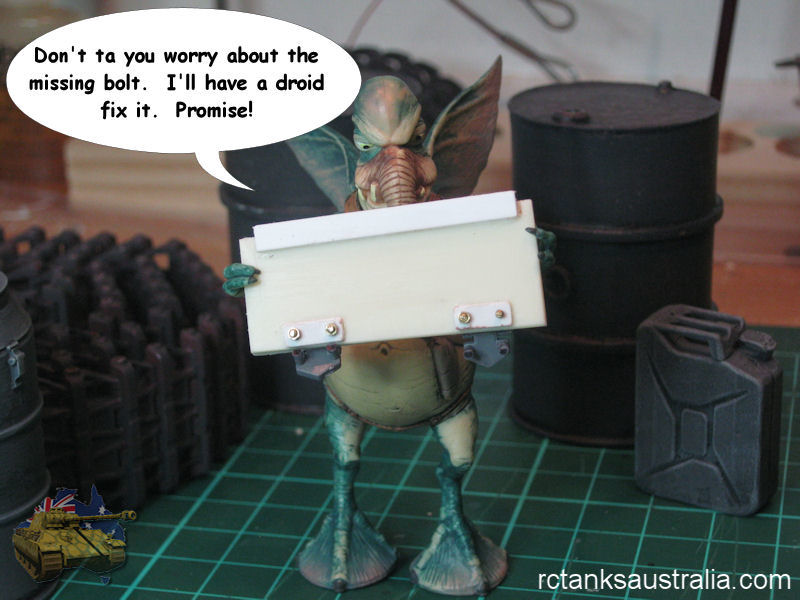
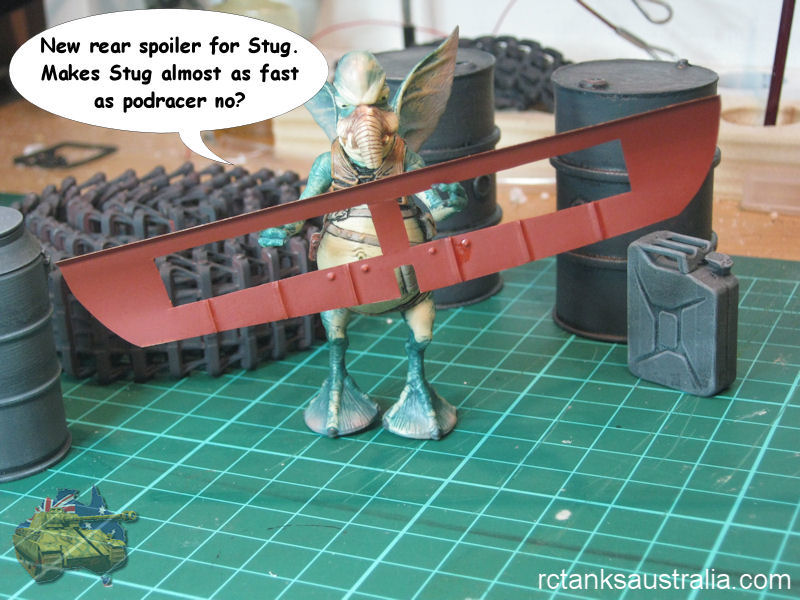
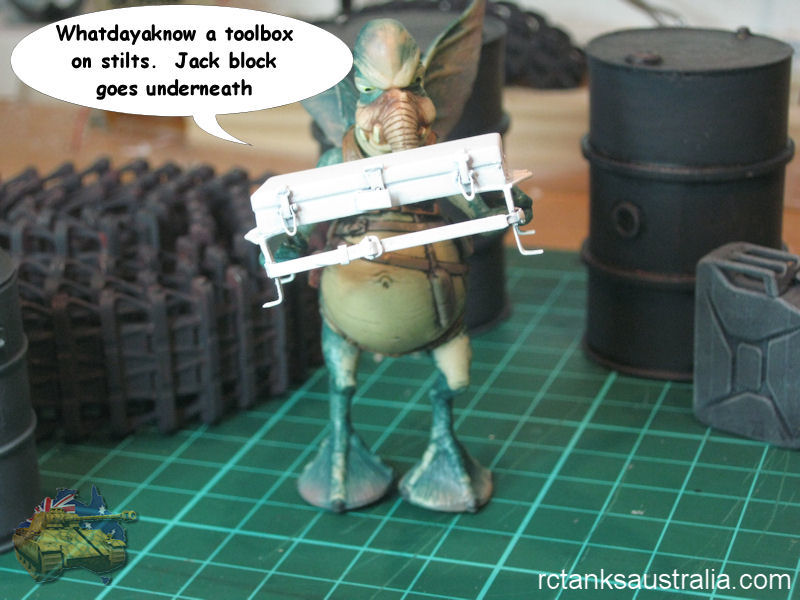
Meanwhile at Watto's Stug Emporium
Stay tuned for more...
- phyrephish
- King Tiger Commander
- Posts: 135
- Joined: Sun Mar 26, 2017 10:24 am
Re: Profiline Stug III Ausf F Build & Review
Back to Watto's Stug Emporium:
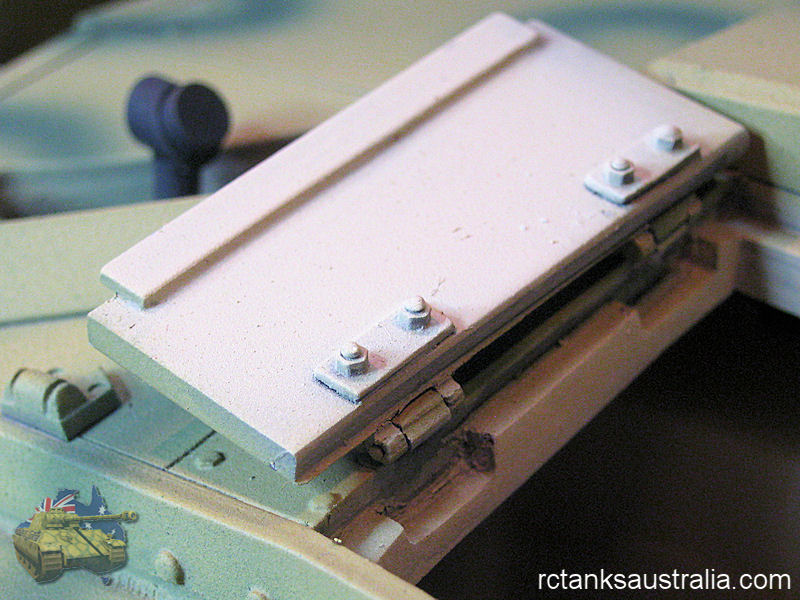
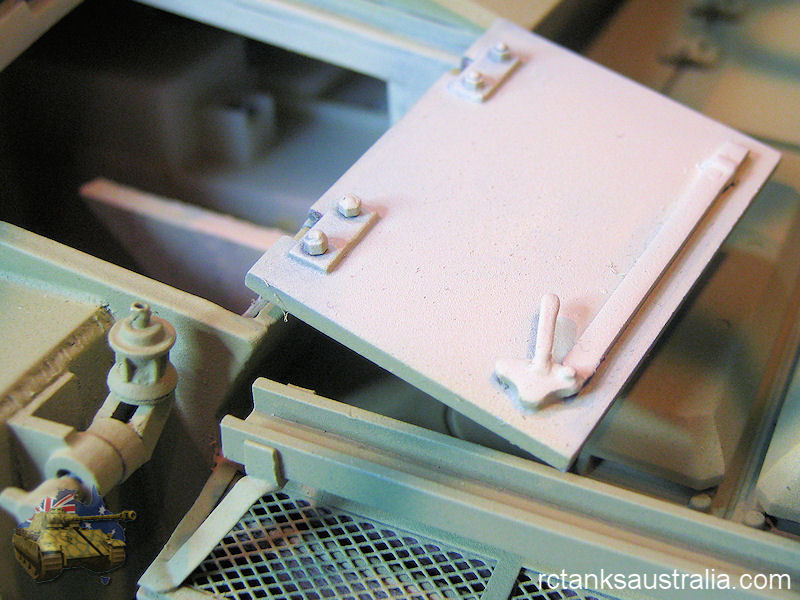
Hatches, all tanks have 'em and we all want them to open. Early Stugs always seem to have their hatches open. The Profiline kit only provides the commders hatch as a separate piece and then the two hatches are cast as a single piece. After some umming & ahhing I left the loaders hatch as is and only made the commanders functional. To do this I used a set of Asiatam Stug hatch hinges and of course cut the cast piece into it's two separate halves. Beacause this hatch will open the interior details of the hatches had to be scratch built.
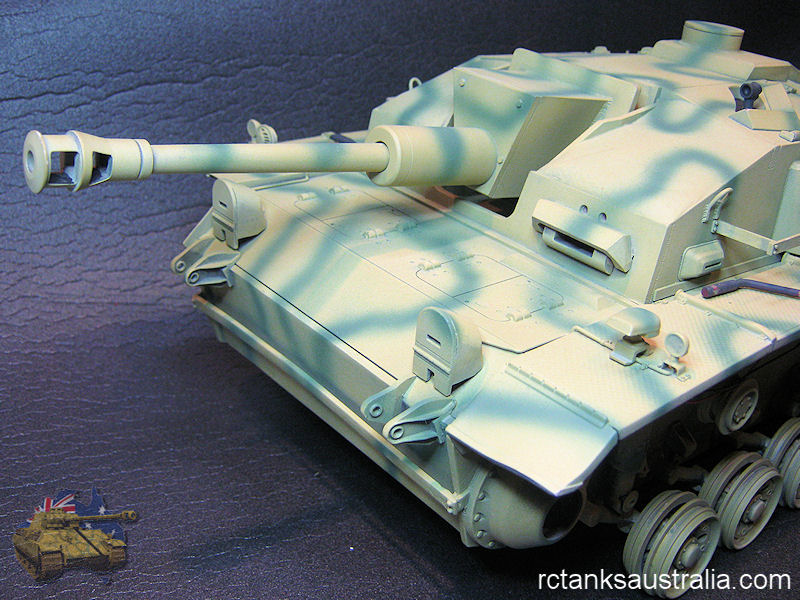
One of the unique features of the F is the muffler cover that can be clearly seen in shots above. This was cut from some sheet brass and detailed with a couple of rivets and brass rod.
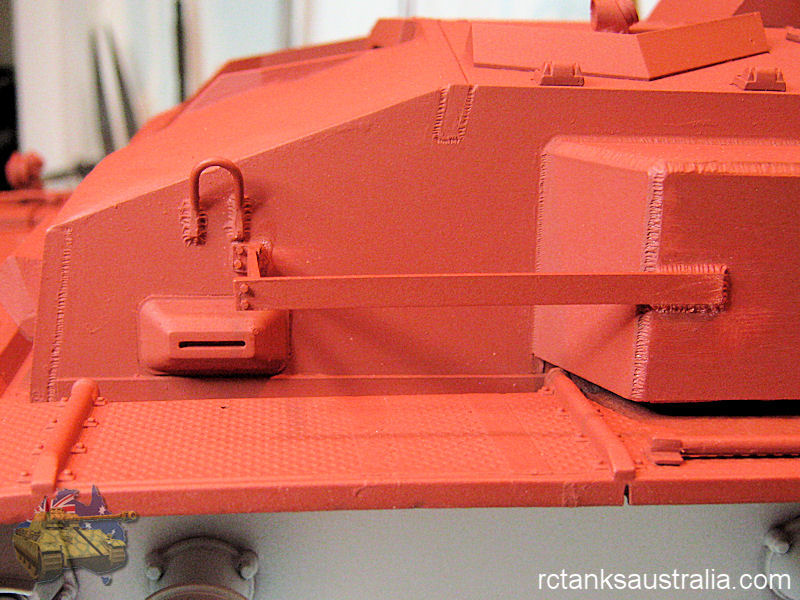
The next issue was the tools. The Stug F has a completely different positioning of tools compared to the Pz III Ausf H. Hence they all have to be removed. The problem here is that there is no commercially available 1/16 Pz III treadplate. The area were the tools were removed are clearly visible and will be to be hidden with stowage items, tree branches or snow. Also there is a very unique jack block, storage box combination on the F. Basically the storage box is located on a bracket above the jack block. However, the Stugs of Grossdeutschland have a different arrangement still. Ooooh more real modelling - no cut part A2 from Sprue A and stick to Part B2. The whole assembly had to be made and detailed.
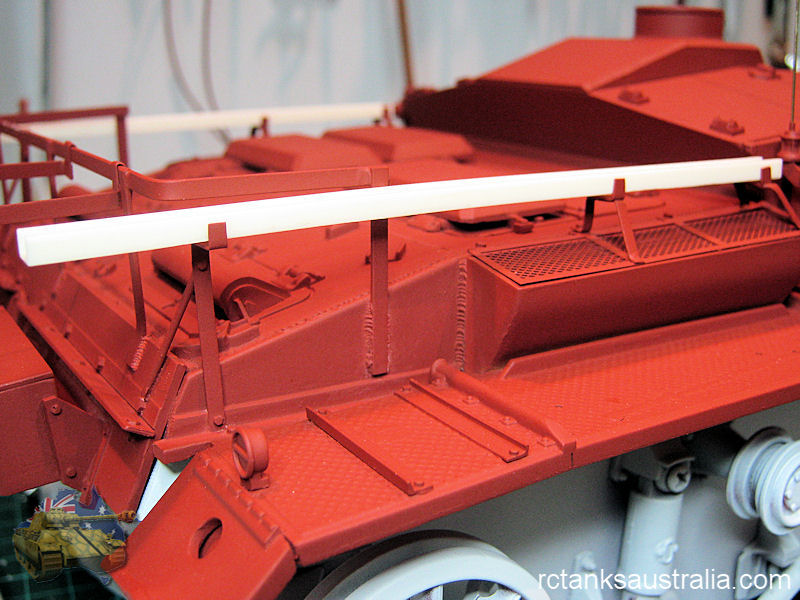
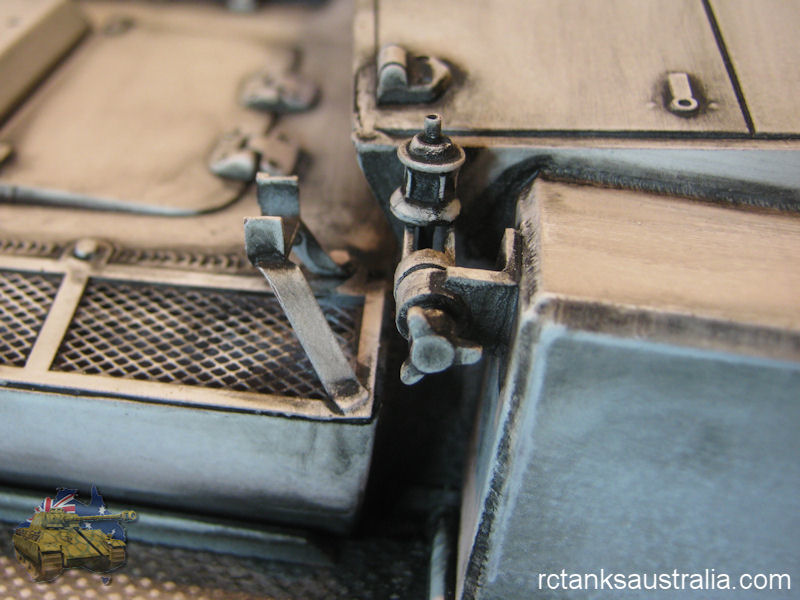
My biggest dissapointment detail wise was with the antenna holding troughs. It really seems like they were an afterthought. Furthermore the resin supports for the troughs on a working R/C model are just asking for trouble. I deceided to redo the supports in brass which as an added bonus can be soldered to the air intake screens.
- phyrephish
- King Tiger Commander
- Posts: 135
- Joined: Sun Mar 26, 2017 10:24 am
Re: Profiline Stug III Ausf F Build & Review
Grossdeutschland Modifications
The Stug F's of Grossdeutschland have several unique modifications. These are as follows:
Concrete:
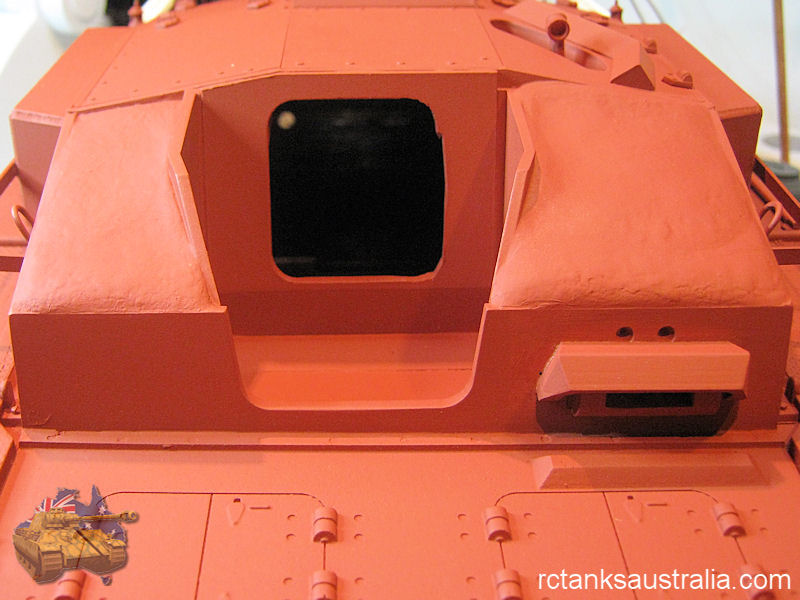
Concrete was added to protect the driver & loader. To do this I filled the majority of the cavity with milliput and to give the concrete texture I used Tamiya Polyester putty heavily thinned with acetone over the top, stippled with a deer foot brush.
Extra Wheel Storage:
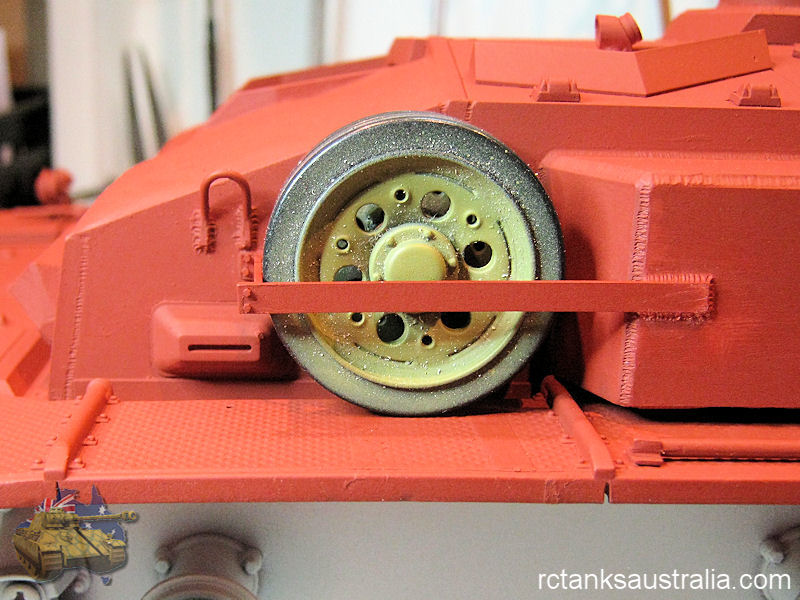
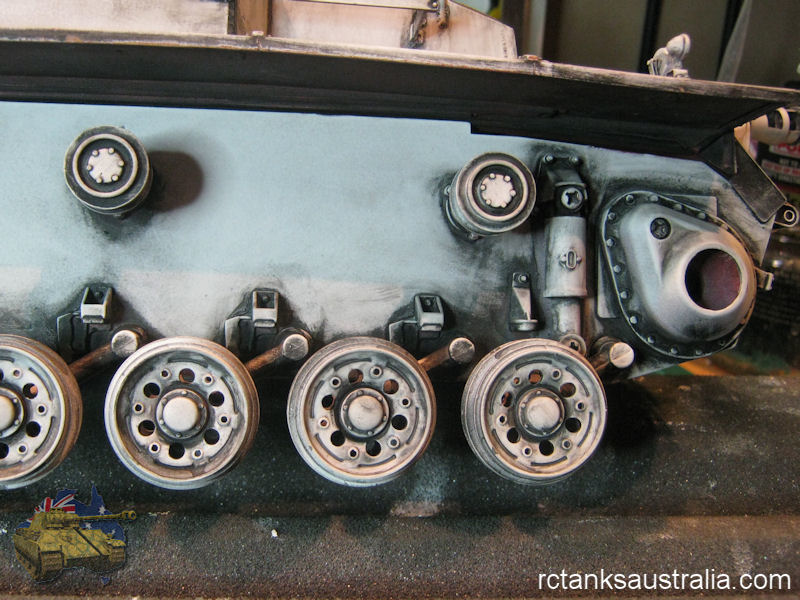
These Stugs carried 4 extra wheels. Two were mounted forward, one on each side of the vehicle, again to provide additional protection for the driver & loader
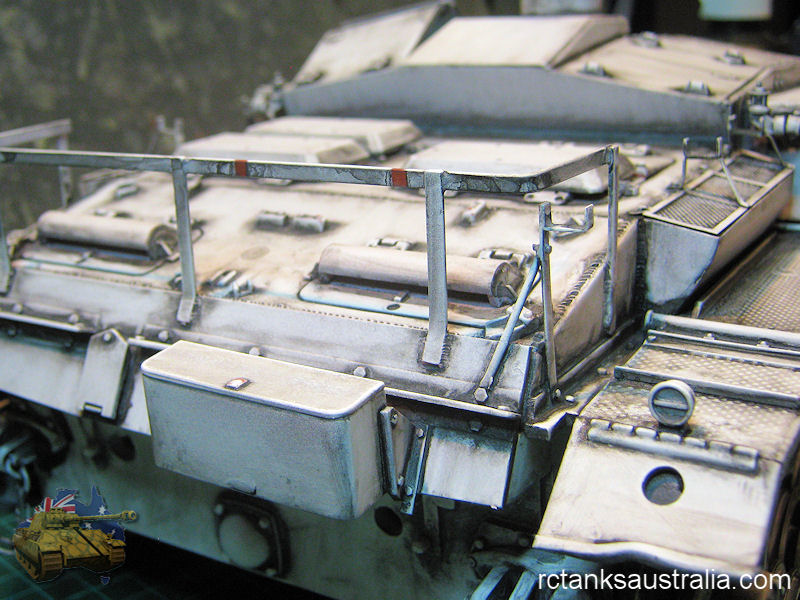
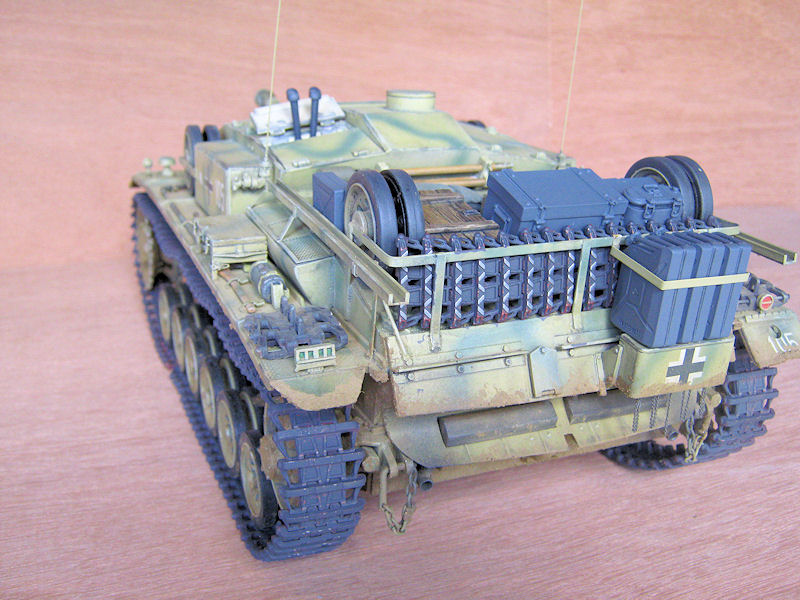
To the rear another two wheels were added attached to the rear stowage rack. As seen in the pics at the start of this thread.
Because of the forward wheels the toolbox on stilts was relocated to the left side aft.
Rear Stowage Rack:
A common Pz III feature. There is also an additional extension to the rack to allow 3 jerry cans to sit on the smoke dischargers.
- phyrephish
- King Tiger Commander
- Posts: 135
- Joined: Sun Mar 26, 2017 10:24 am
Re: Profiline Stug III Ausf F Build & Review
Painting the Stug - An exercise in PRE-SHADING
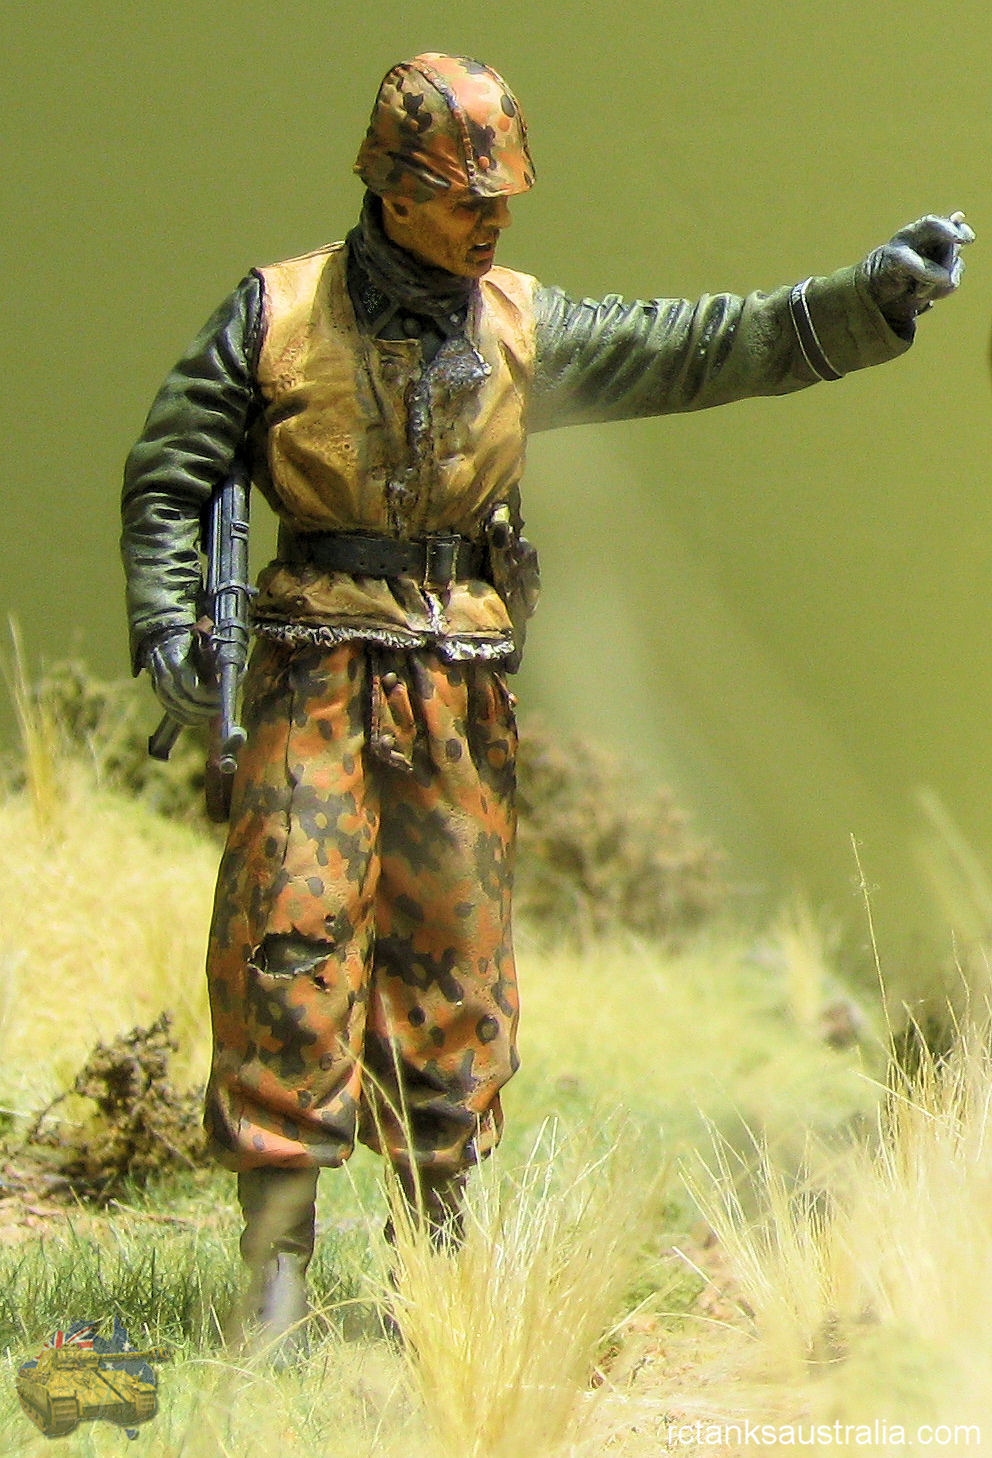
Recently I've been pretty happy with the results of preshading when painting figures. Below is an example of a figure painted with preshading.
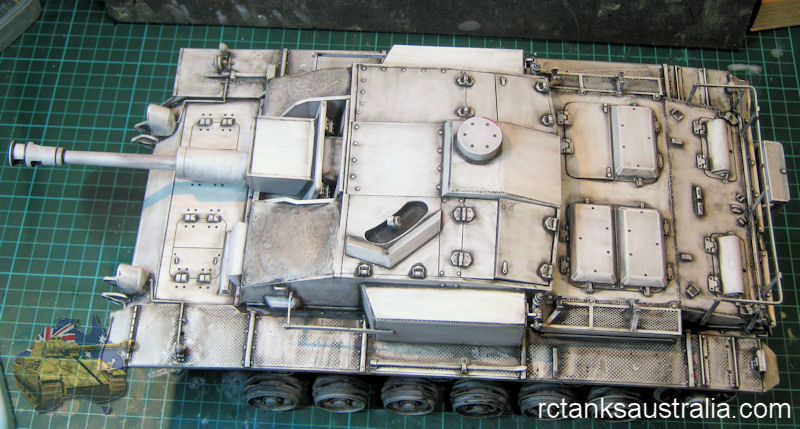
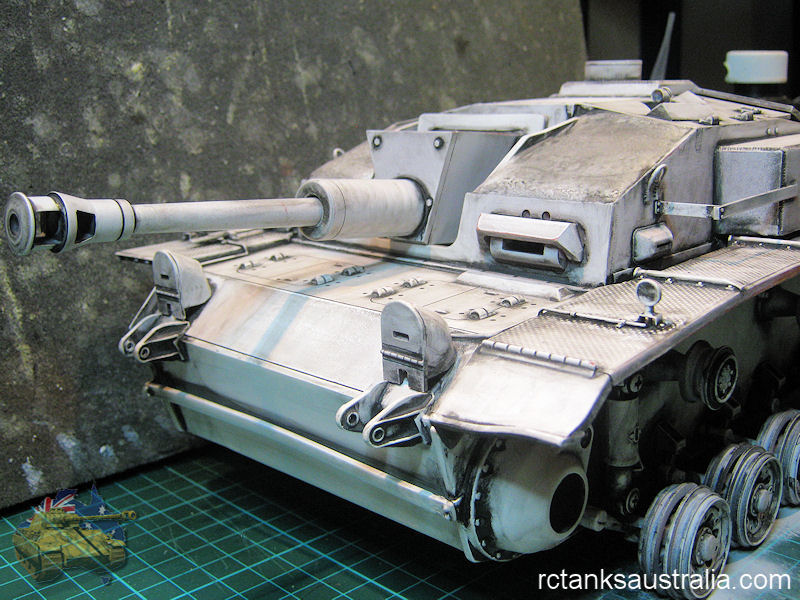
For those unfamiliar with the technique preshading the process involves starting with a model painted in white to which you add black into all of the places where you would expect shadows. Basically you want to end up with a model painted in monochrome black and white. The theory is that if you apply a thinish coat of your main colour you will easily get the tonal variations of that colour required - lighter on the exposed bits and darker in the recesses. How you do this is a matter of personal preference. I tend to use what maybe considered an extreme technique. Which I'll talk about later but first here is the stug in monochrome.
- phyrephish
- King Tiger Commander
- Posts: 135
- Joined: Sun Mar 26, 2017 10:24 am
Re: Profiline Stug III Ausf F Build & Review
PRESHADING
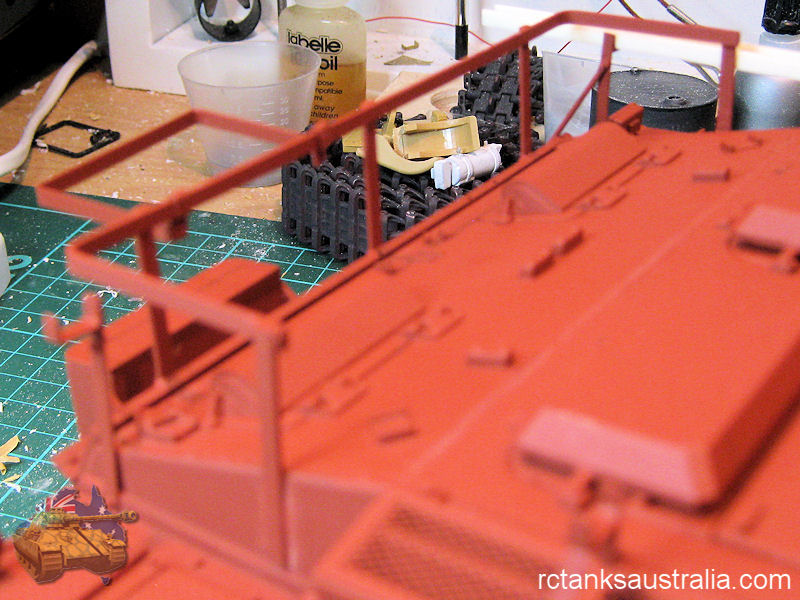
First Step: Here is a quick run down of my preshading technique. The first step after the construction is complete is to paint the model in a white undercoat. The white coat is usually over an initial undercoat of either light grey or red oxide. As you can see the Stug had an initial undercoat of red oxide. You need this first undercoat to spot all the blemishes in the model (essential if working with resin). I use White Knight Super Primer from Bunnings. I have had ZERO issues with this primer as it works well on plastics & metal. I DO NOT use any of the primers produced by modelling companies, Tamiya, Testors,... The main reason for this is that they will not stand up to my technique and will come off in the next set of steps. White Knight primer sticks and tends to stay stuck.
When you apply the white undercoat you do not need to cover the model 100%. If the white does not get into all the nooks & crannies thats fine cos that is exactly the effect that you want. Once finished let this coat dry for at least 24hrs.
Second Step: Once the white undercoat is dry it is time to apply black into the shadows. You can do this either by a black wash, spraying black or a combination of both. For this step I use an acrylic paint either Vallejo Black for figures or Tamiya XF-1 black for vehicles. For the Stug I applied a black wash to make sure the black got into all of the crevices followed by airbrushing black along all the corners and edges. Your model will now look absolutely horrible. Let it at least dry to touch before going on to the next step.
Third Step: This is the money step. Get a cloth rag and splash on some methylated spirits now attempt to clean off all the black. As the cloth moves across the model it will take the black off all the raised parts (much like dry brushing) and leave black in all the crevices. Swap from a cloth to one of those applicators that the wife, girlfriend, mistress... uses for their eye makeup to go over all the fine detail parts.
- phyrephish
- King Tiger Commander
- Posts: 135
- Joined: Sun Mar 26, 2017 10:24 am
Re: Profiline Stug III Ausf F Build & Review
PRESHADING RESULTS:
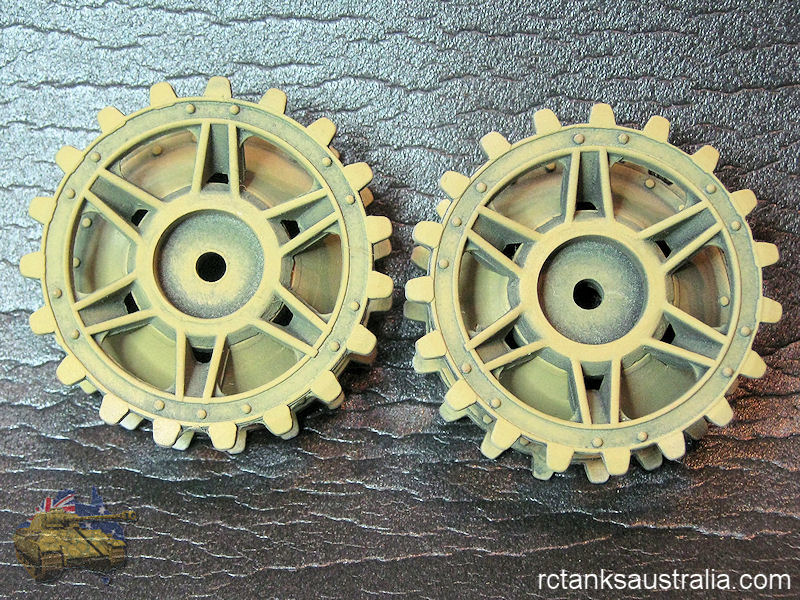
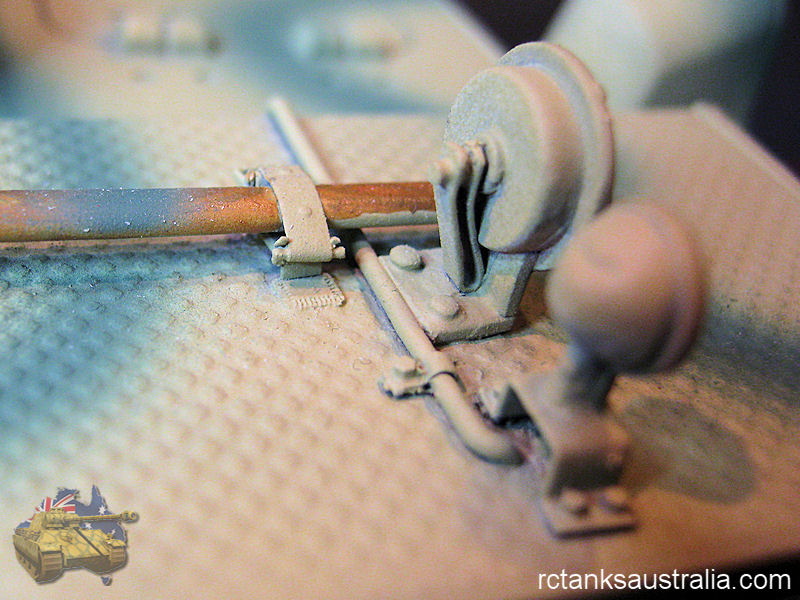
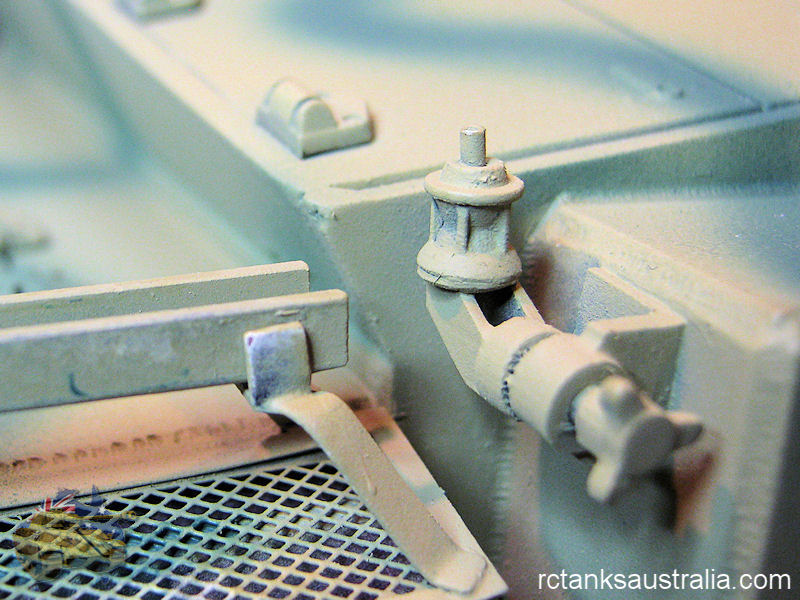
Below are some PzIV sprockets that have been painted with the preshading technique. The effect is subtle and can easily vanish if you apply too much of the top colour (in this case Dunkelgelb). Preshading doesn't replace the usual black washes if done right it should enhance your washes.
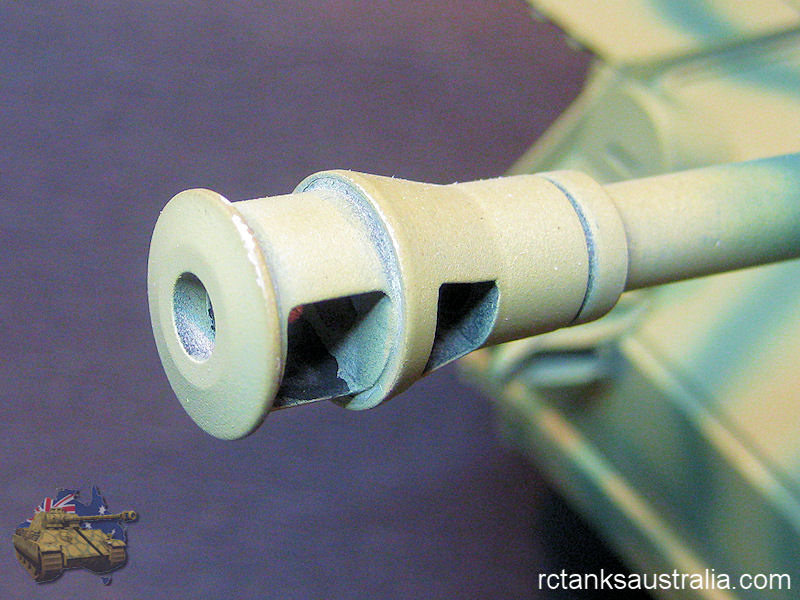
I think that I may of applied too much Dunkelgelb over the Stug as the preshading appears lost on most of the upper surface. Below are some areas where the preshading effect is most prominent.
Inside Hatches
Muzzle Break
Aerial Mount
Overall
I have tried to paint the Stug as light as possible as the subsequent weathering techniques will darken the model considererably.
- phyrephish
- King Tiger Commander
- Posts: 135
- Joined: Sun Mar 26, 2017 10:24 am
Re: Profiline Stug III Ausf F Build & Review
StuG Decals
Before the decals were applied the camouflage was 'toned down' by spraying a fine 'blending' coat of 50% Dunkelgelb 50% Olivgrun over the entire model. When this was dry the entire model was given a coat of Hi-Gloss varnish. The decals were applied over this Hi-Gloss coat. The unit number (105) decals I originally planned to use were too small for the sides so I am awaiting some new unit numbers before moving on.
Below is a Flash Gallery of the StuG at this stage. Move your mouse over the lower part of the image to reveal the other images in the set. Move your mouse outside of the image to make the thumbnails dissappear again.
Cheers
- phyrephish
- King Tiger Commander
- Posts: 135
- Joined: Sun Mar 26, 2017 10:24 am
Re: Profiline Stug III Ausf F Build & Review
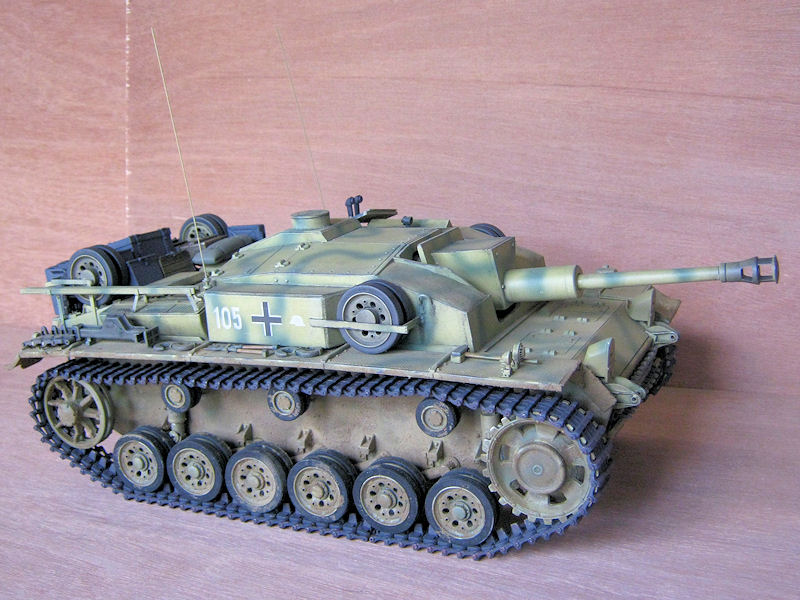
Been a while update wise but things are still progressing. Here are a few shots of the stage the Stug is at now. Just a bit of weathering needed on the stowage items, some impact tracks and a few final sprays and it should be done.
- phyrephish
- King Tiger Commander
- Posts: 135
- Joined: Sun Mar 26, 2017 10:24 am
Re: Profiline Stug III Ausf F Build & Review
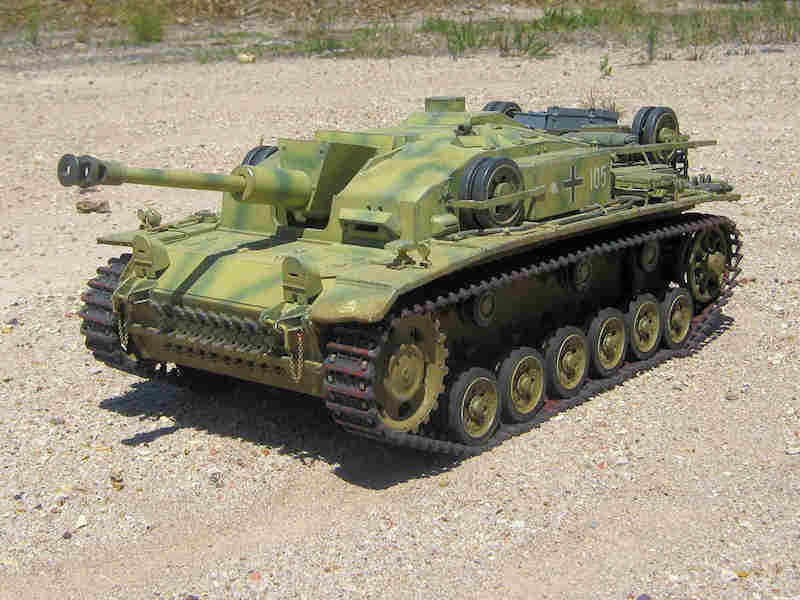
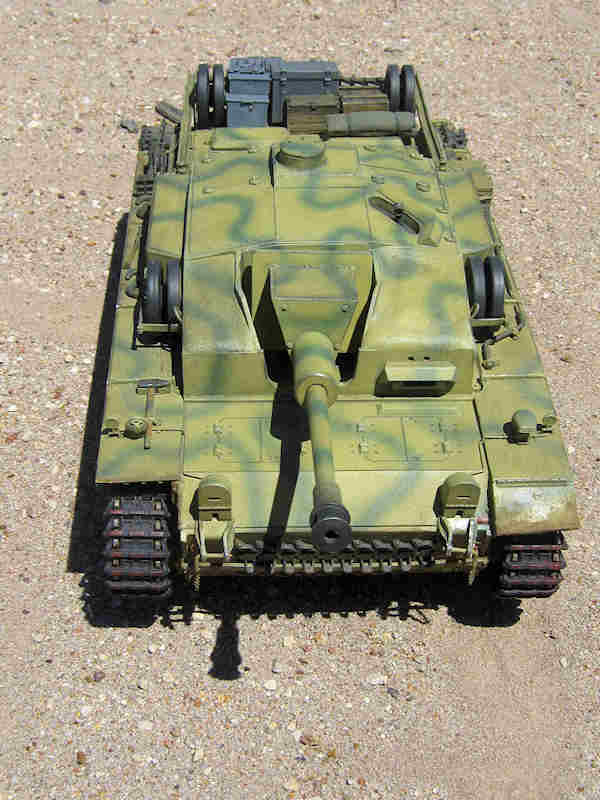
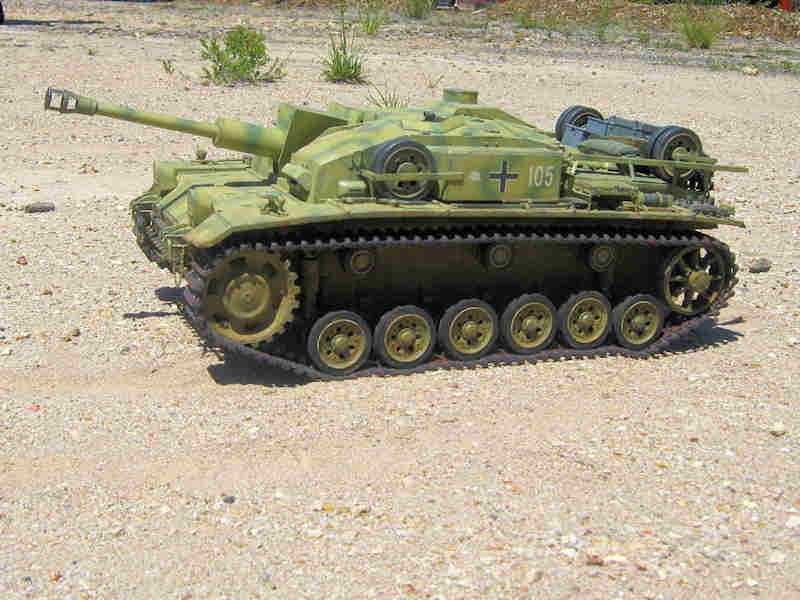
Here are some pics of the Stug out in the HOT November sun for the MBRCTC Battle Day, Sunday 20 November 2011.