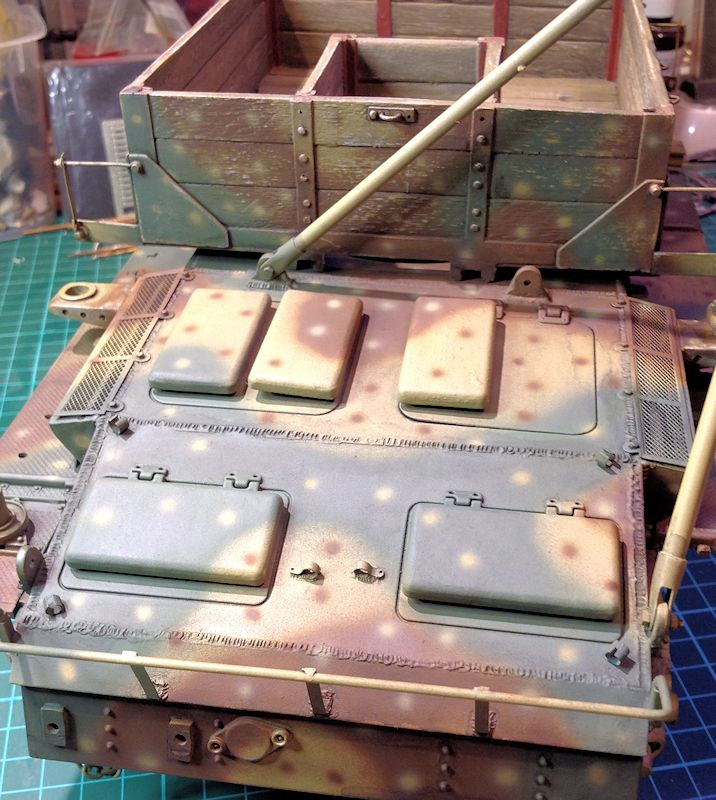
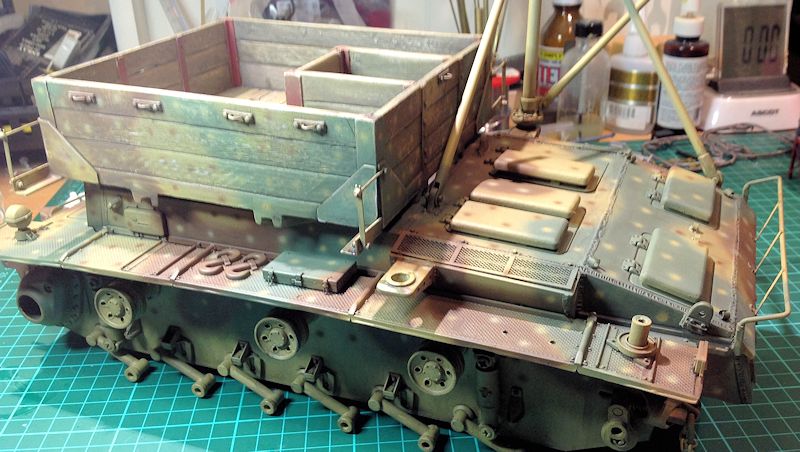
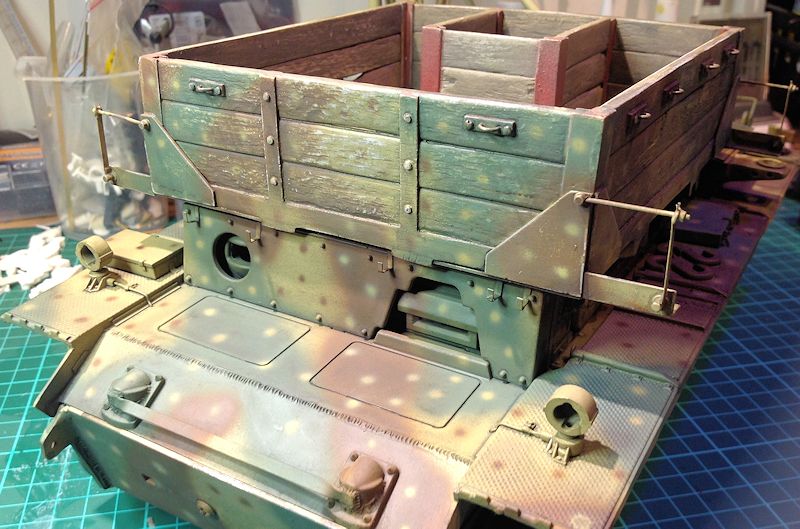
Above the process is at Step 6. Below is after the light sanding which will bring out the detail by exposing the light foundation and grey colours that are underneath.
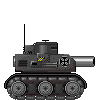
As promised here is the berg in ambush. Question now becomes do I cover most of this up with a white wash and then remove the wash to give it an end of the 44/45 winter look?
I kinda like it as is but as is it won't really go with the winter tracks nor the winter tank riders I have for the inside.
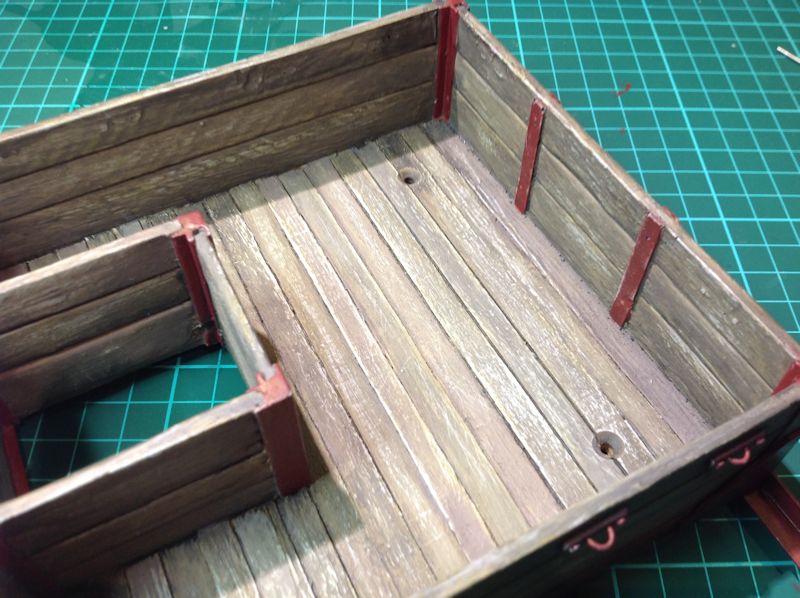
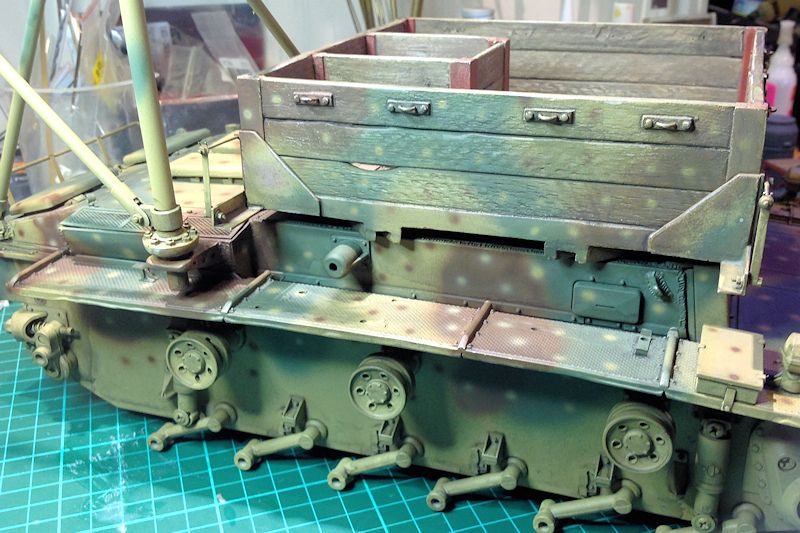
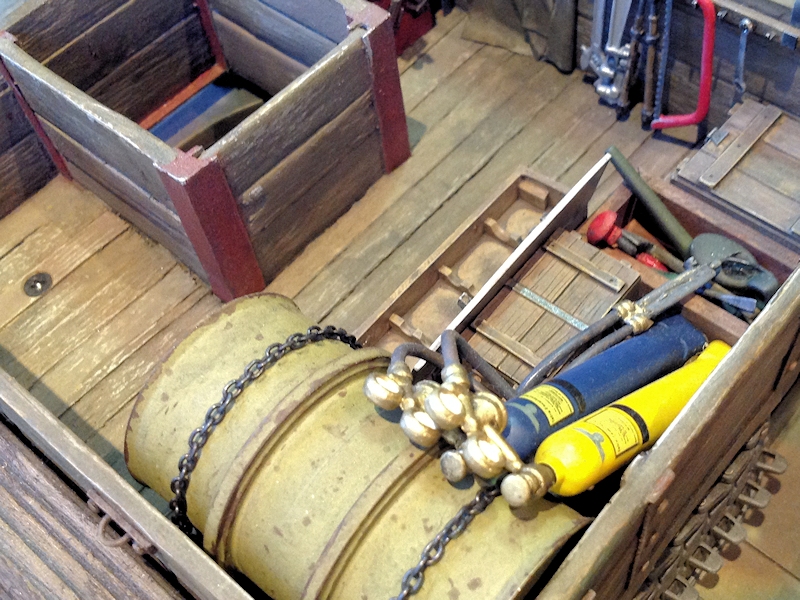
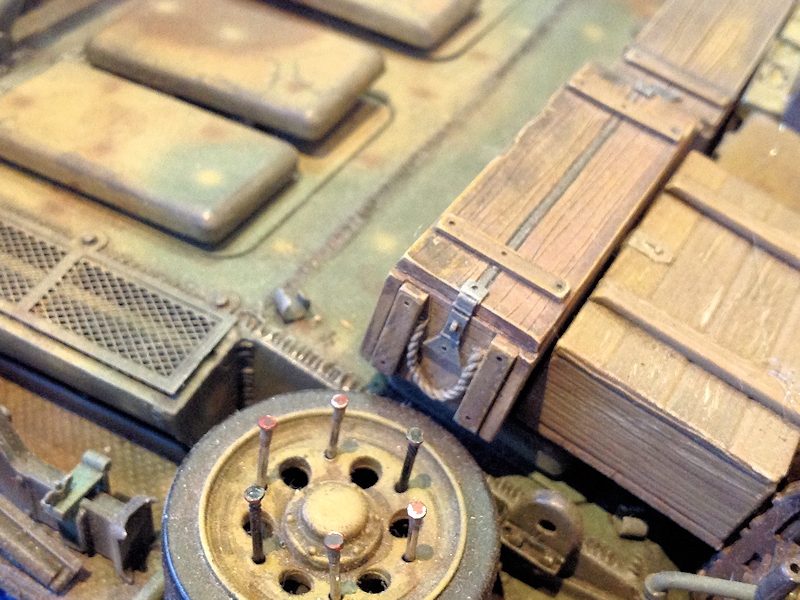
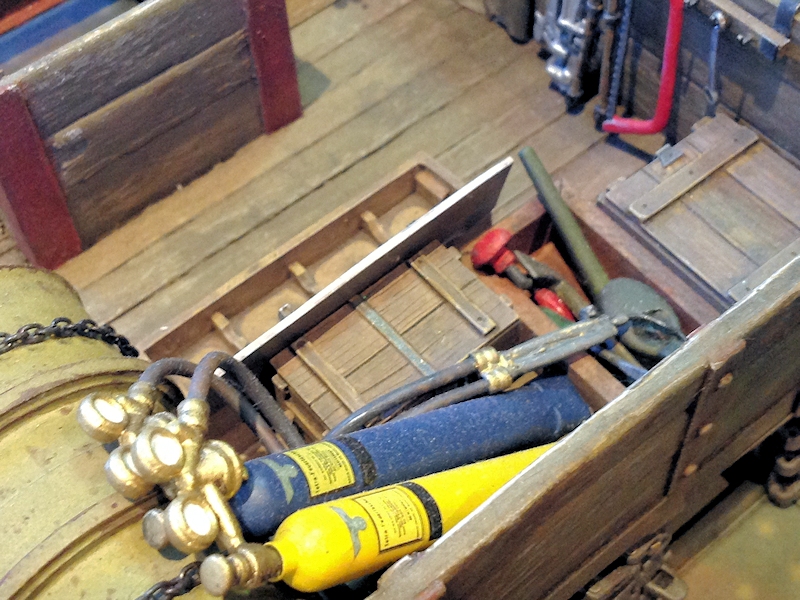
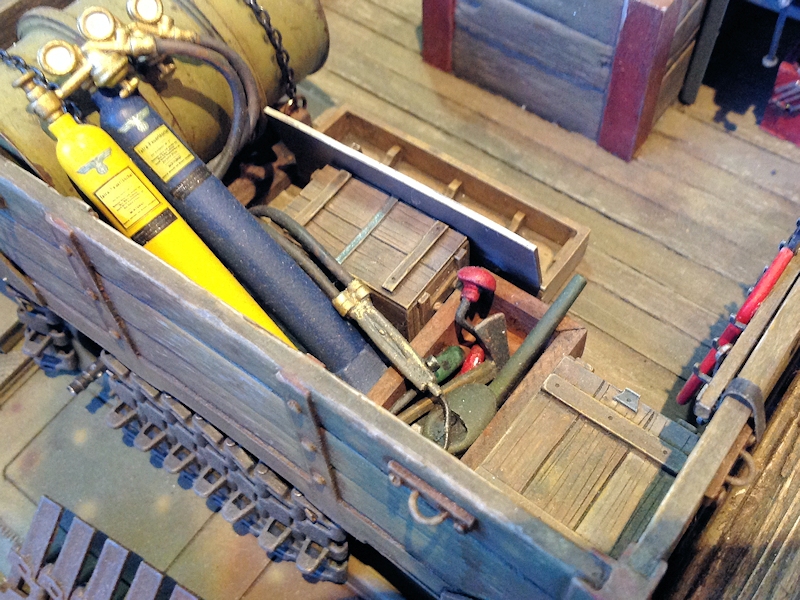
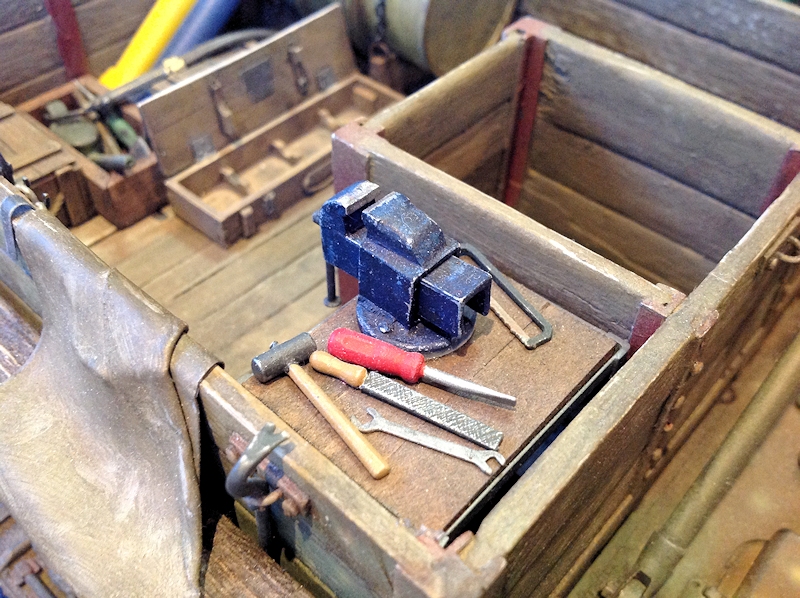
Never posted any pics of the stowage & tools detail so here are a few...
The open case will feature some Panzerschrek rockets and there will be a panzerschrek equipped soldier - so yes the old berg is still being worked on.....
[center]


 [/center]